
Selenium Environment Setup
Selenium supports various programming languages like Java, Python, C#, Perl, Ruby etc. Java is the most widely used languages for Selenium. So, let us start and understand the process of Java Installation
Selenium + Java Installation process involves 3 steps -
- Install Java SDK
- Install Eclipse
- Install Selenium Driver Files
Install Java SDK
Navigate to the URL:"https://www.oracle.com/java/technologies/javase-downloads.html" to download Java Software Development Kit (JDK)
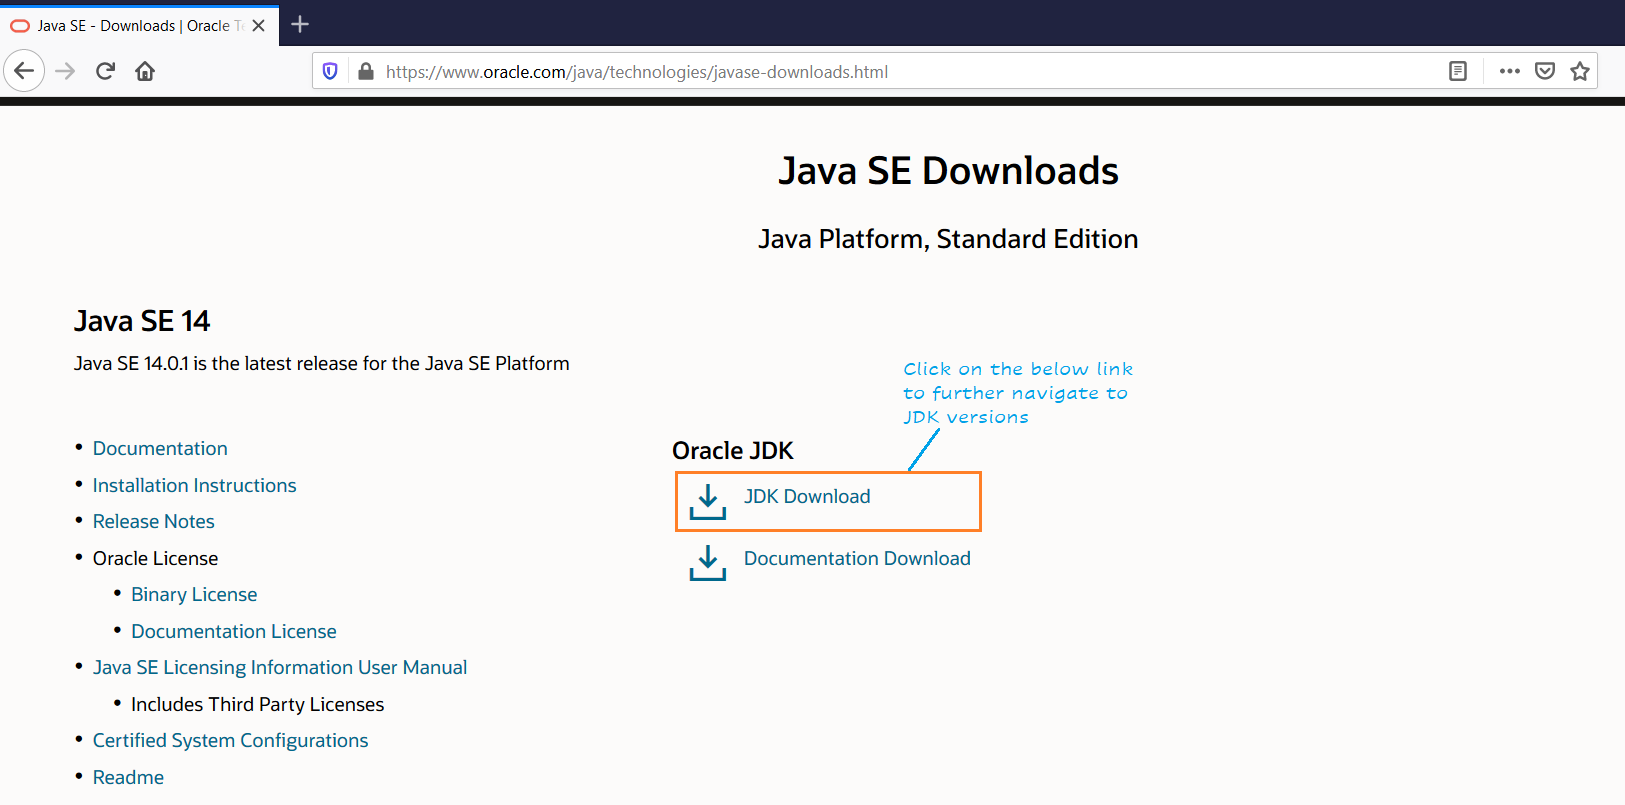
Next, the appropriate version based on the installed OS on the system.
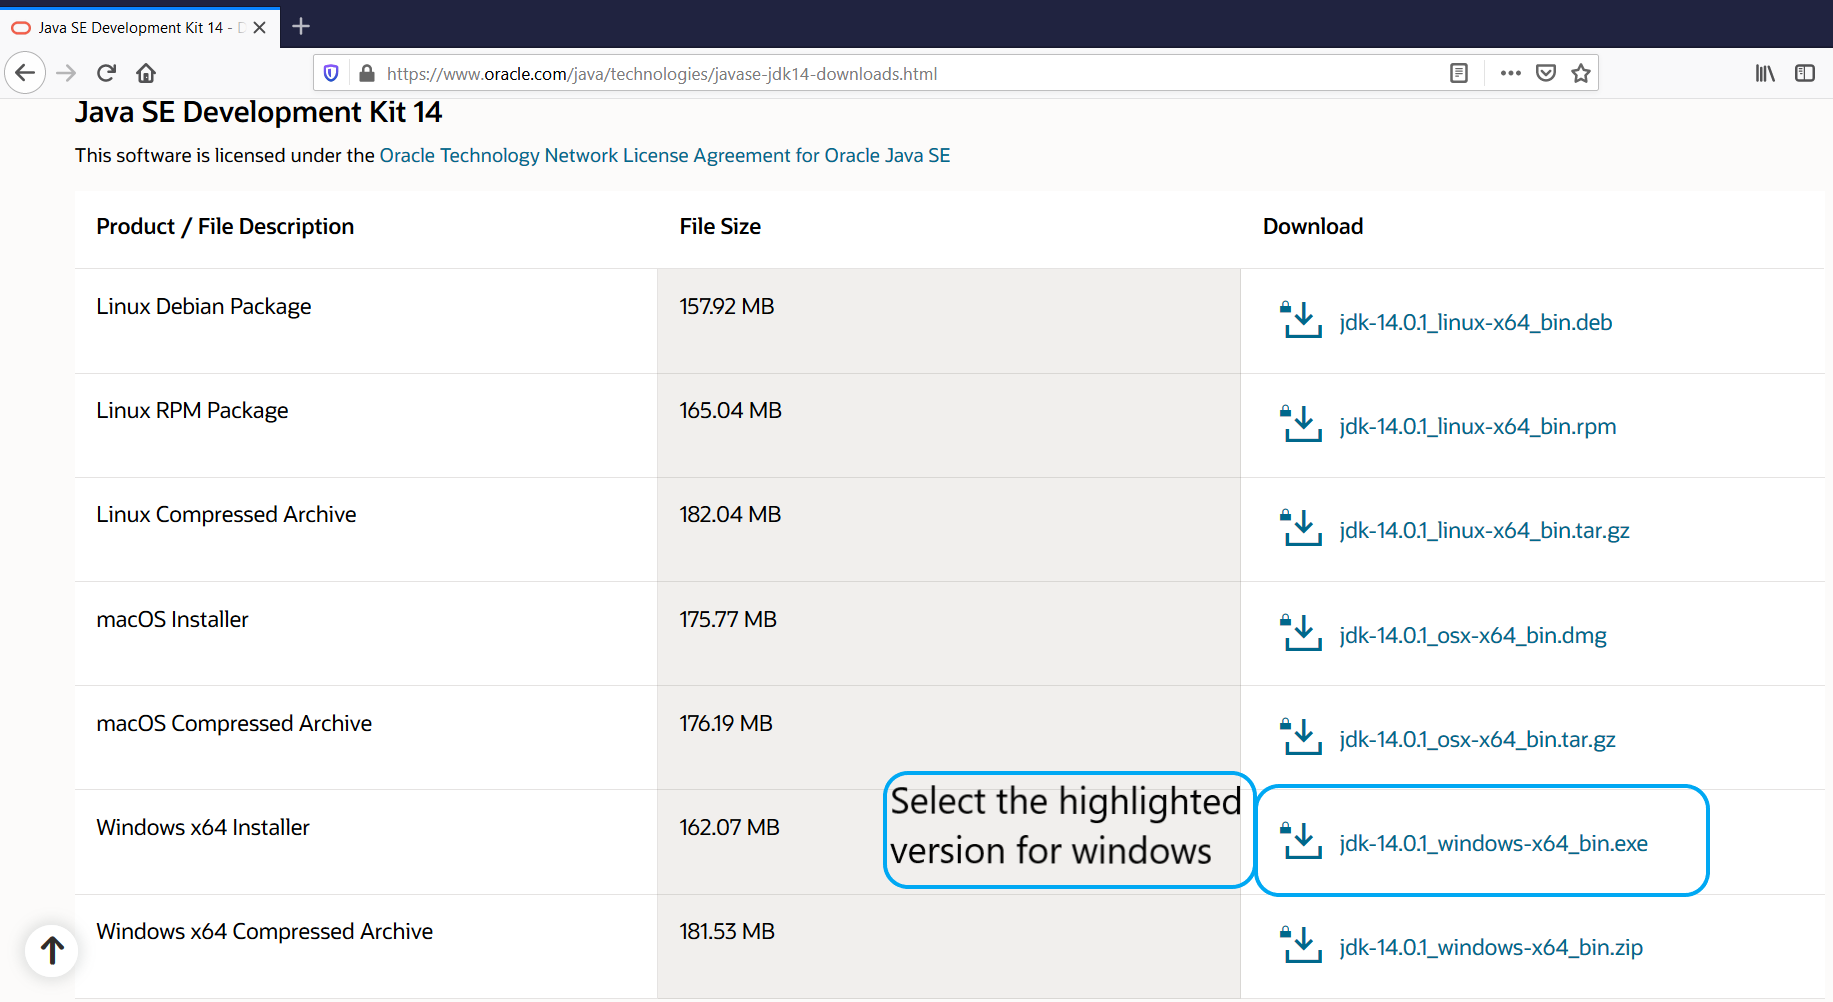
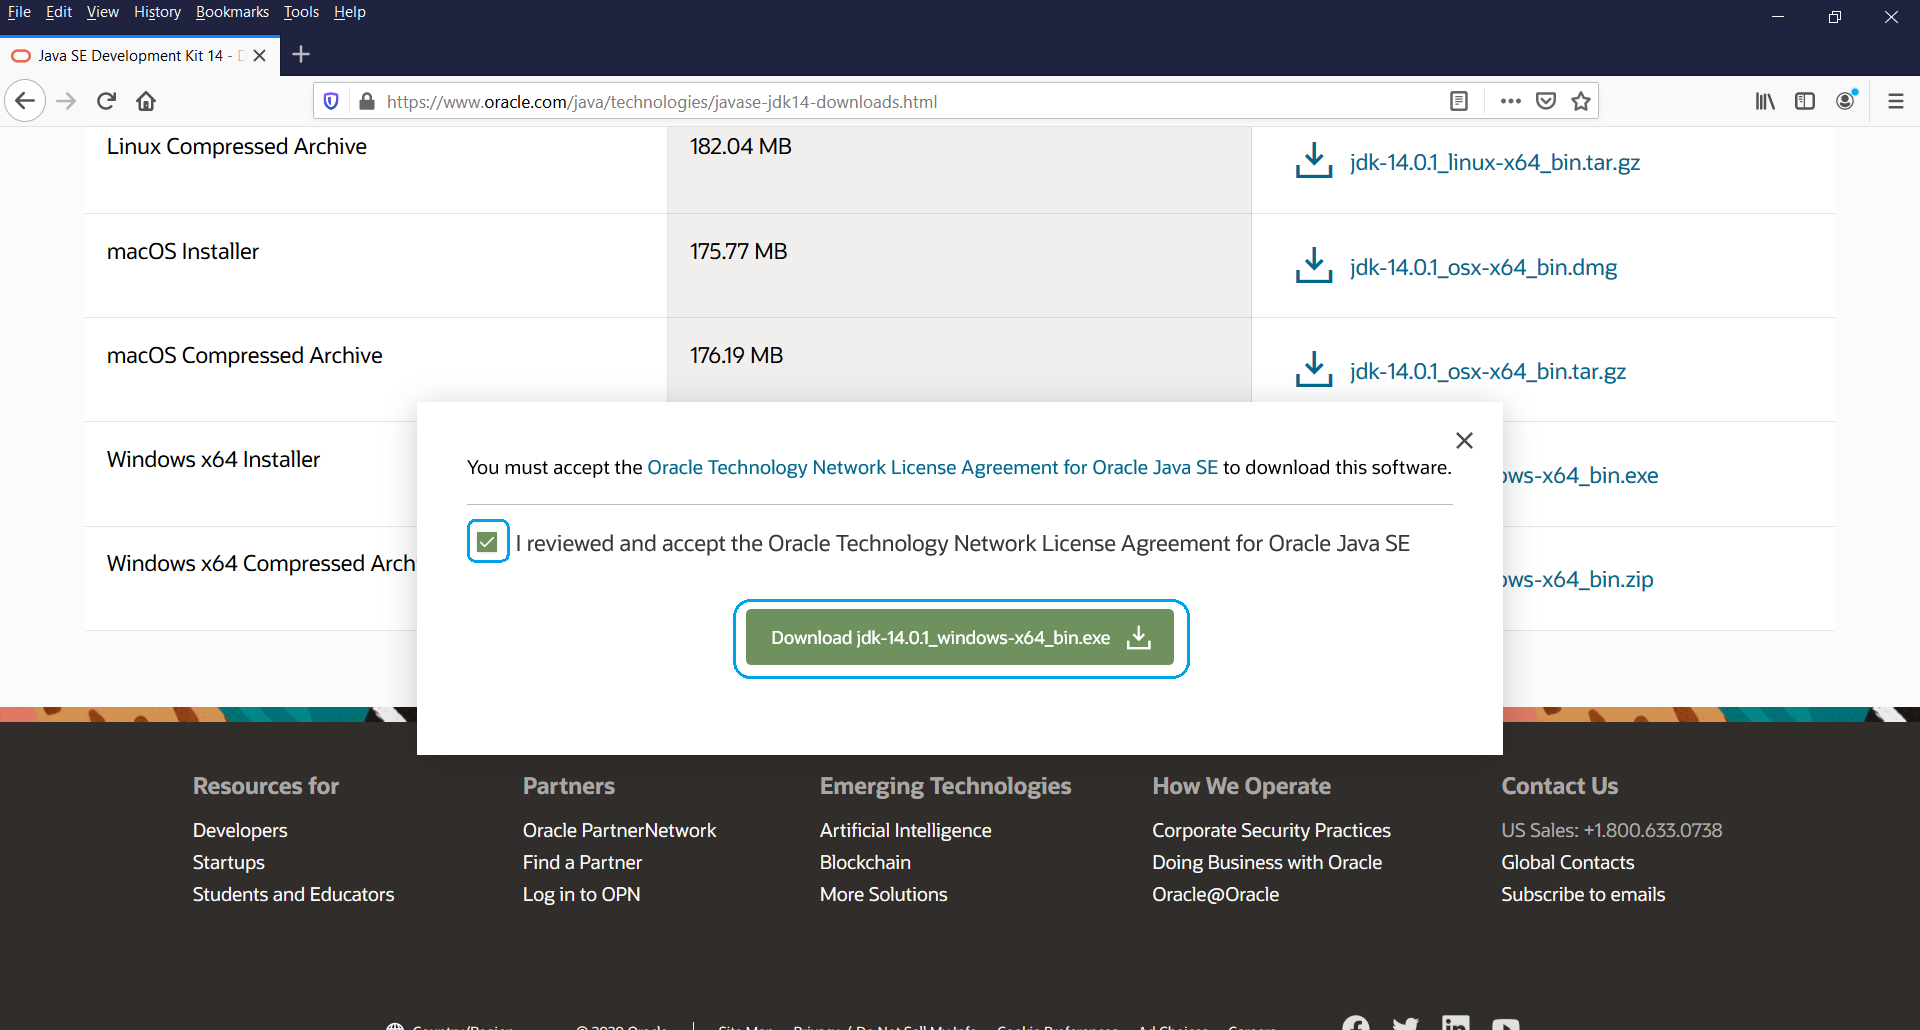
Next, check the "I reviewed and accept the Oracle Technology Network License Agreement for Oracle Java SE" and click on "Download jdk-14.0.1_windows-x64_bin.exe" to download the version.
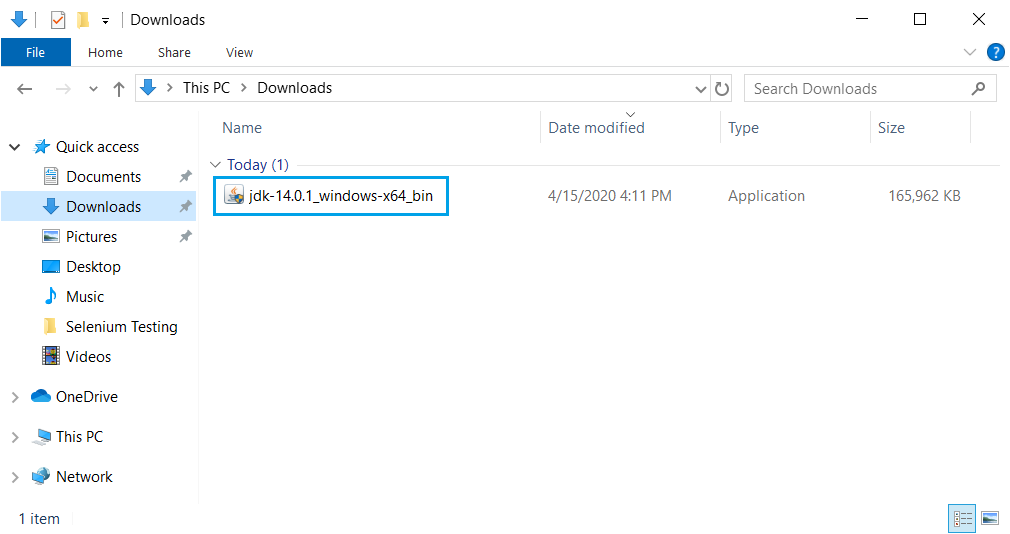
Once downloaded, double click on exe file to install the Java in the system.
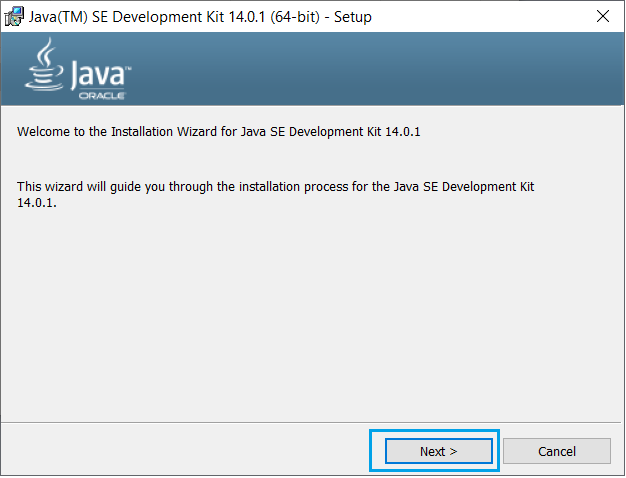
Click on "Next" to proceed further.
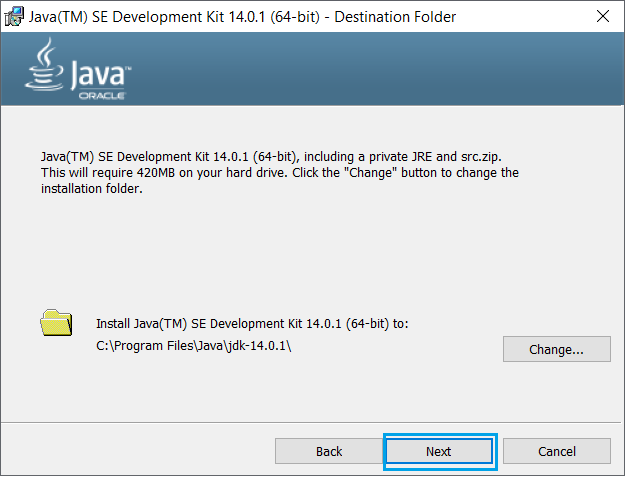
Change the installation location if required, and click on "Next" to proceed further -
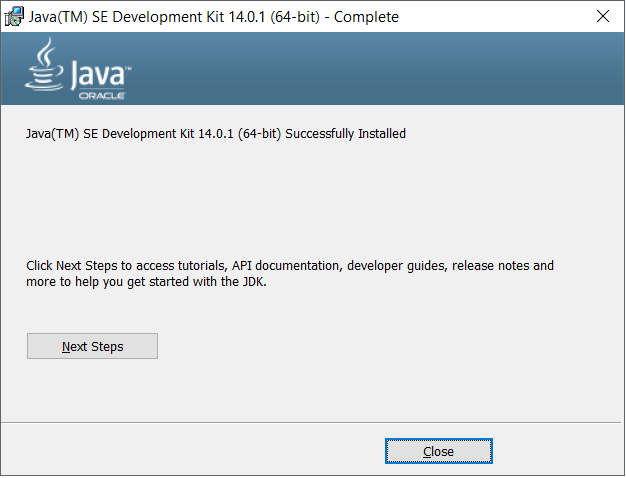
Installation progress bar will appear. Once the installation progress completed, click on "Close" to finish the installation.
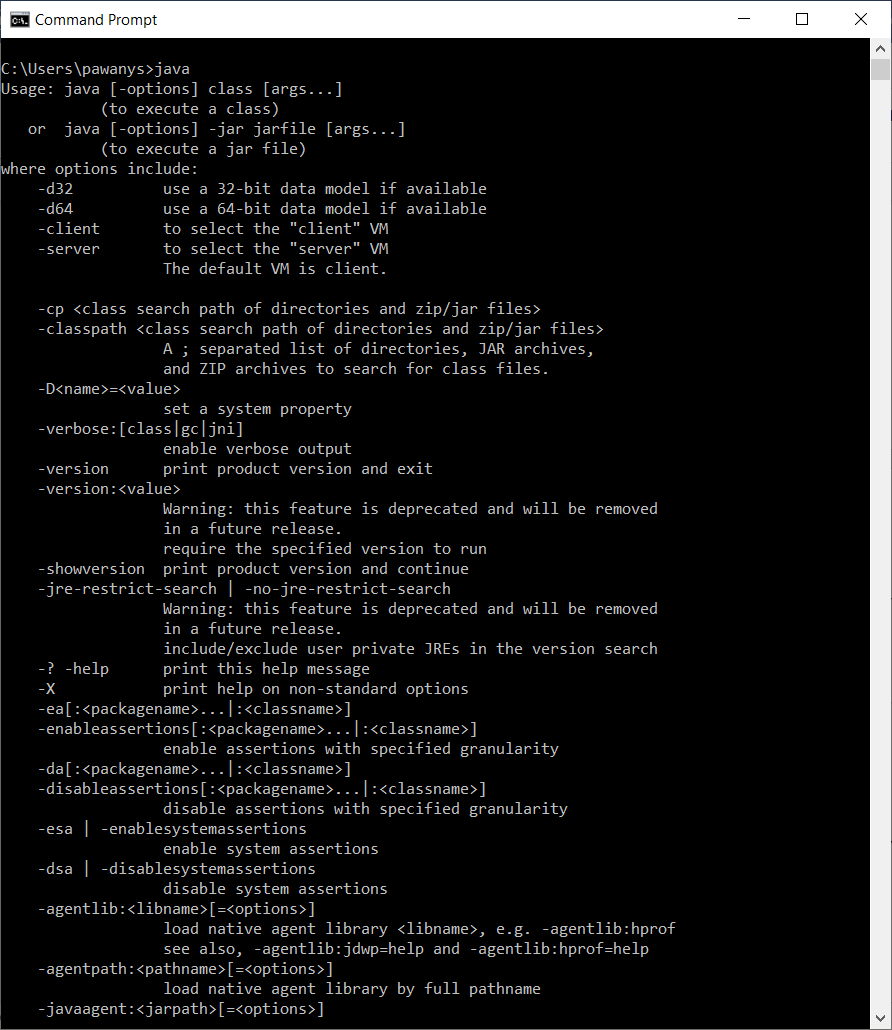
Open the command prompt and type "java" to verify the installation of java. It displays the installed information.
The above process concludes the Java installation on the windows system. Let’s move to the next step of installing eclipse.
Install Eclipse
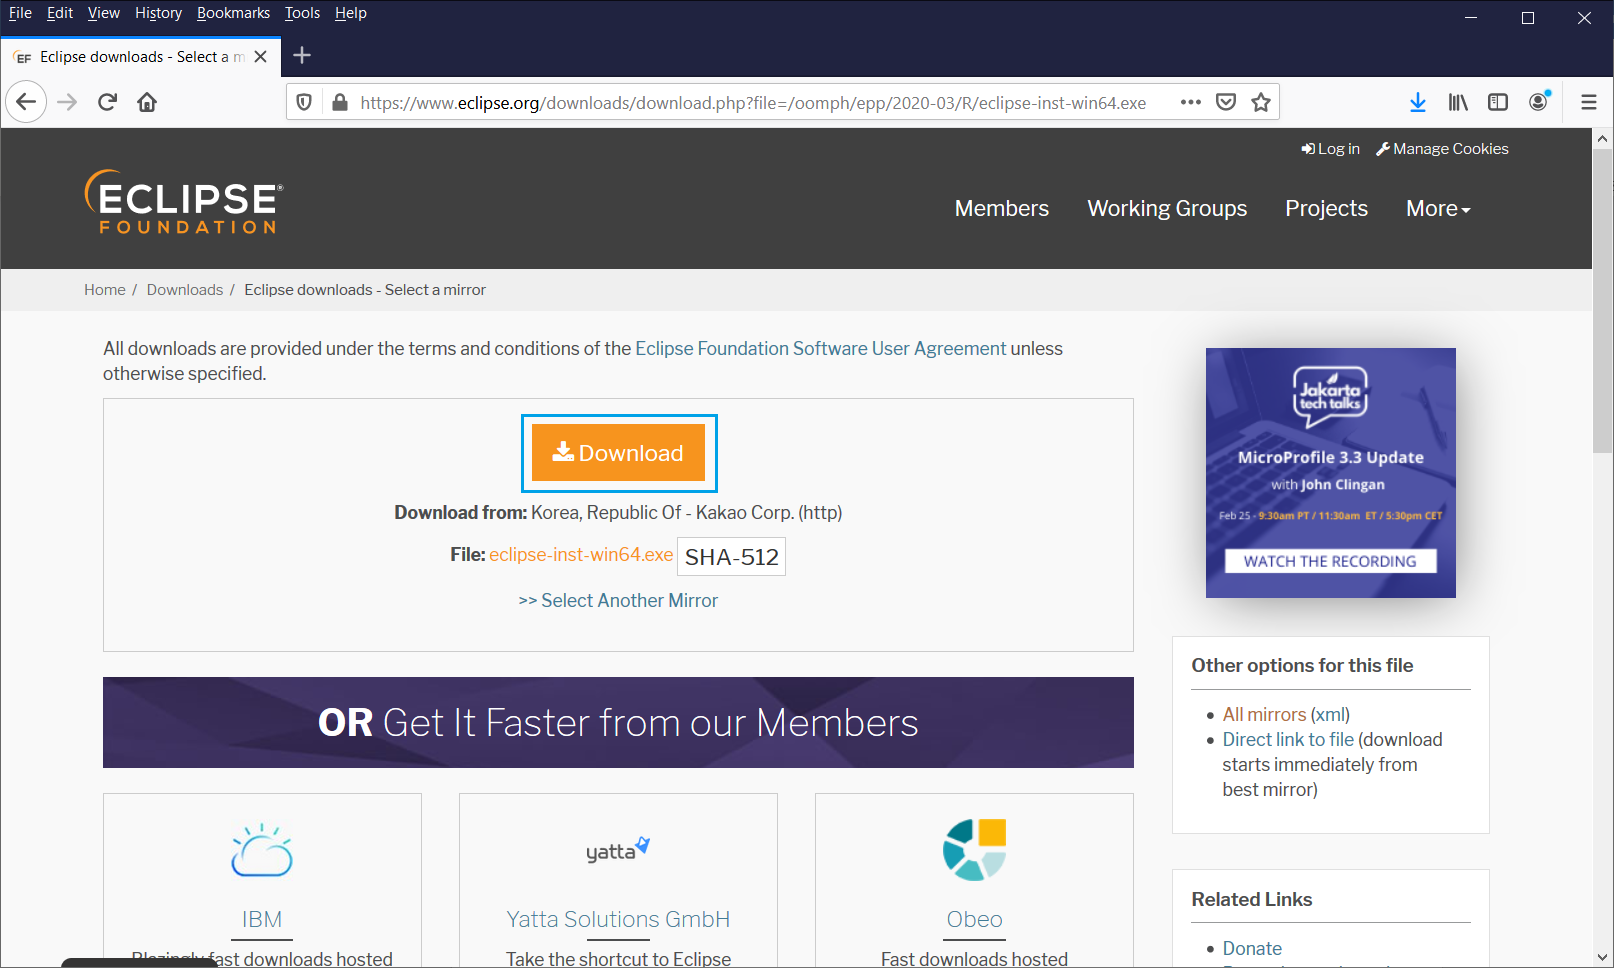
Navigate to the URL:"https://www.eclipse.org/downloads/" to download eclipse. In the below page, click on "Download 64 bit" to download eclipse installer.

click on "Download" button to download the eclipse.
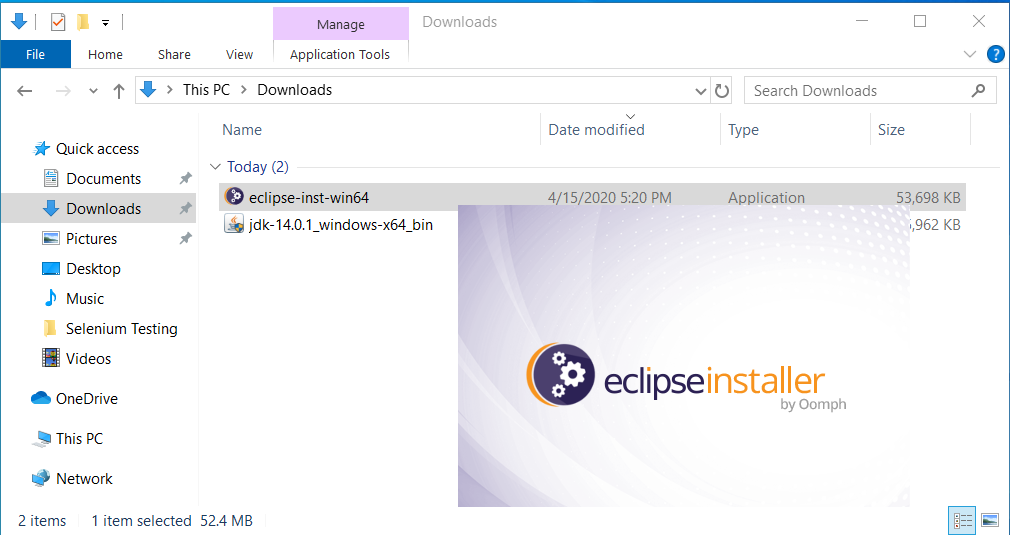
Double click on eclipse installer downloaded to install eclipse in the system.
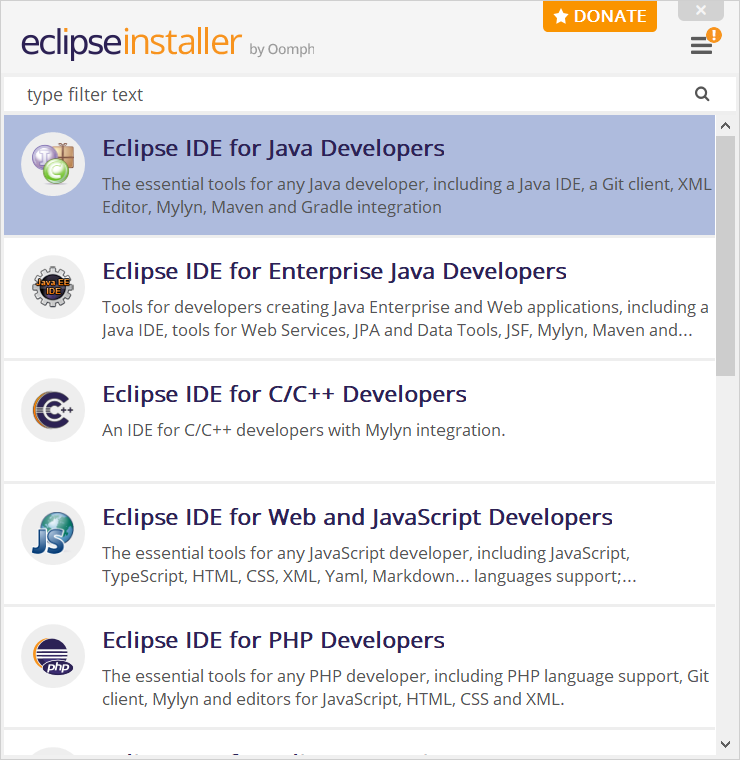
Click on "Eclipse IDE for Java Developers" to proceed further.
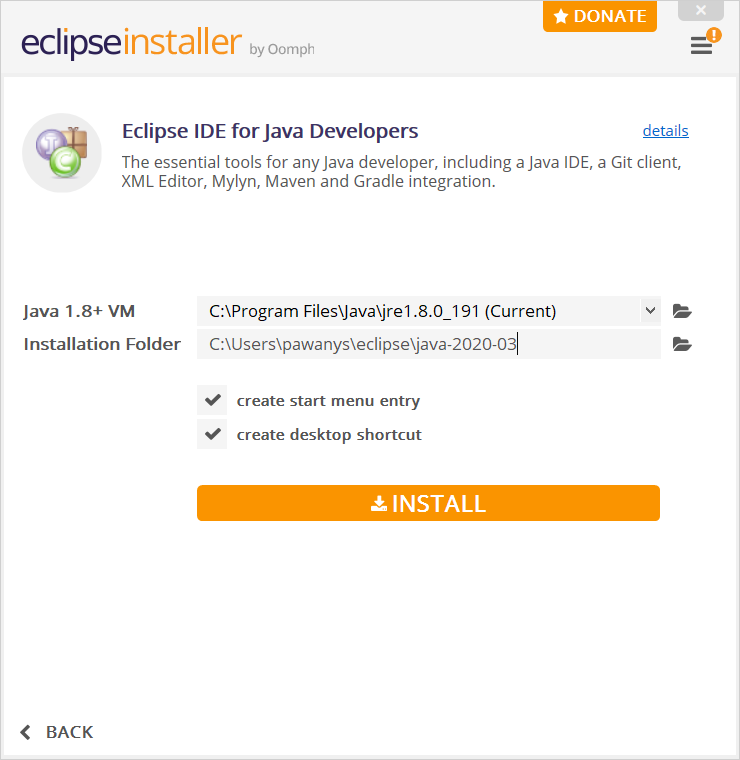
Check or uncheck the options based on the requirement and click on "Install" button to proceed.
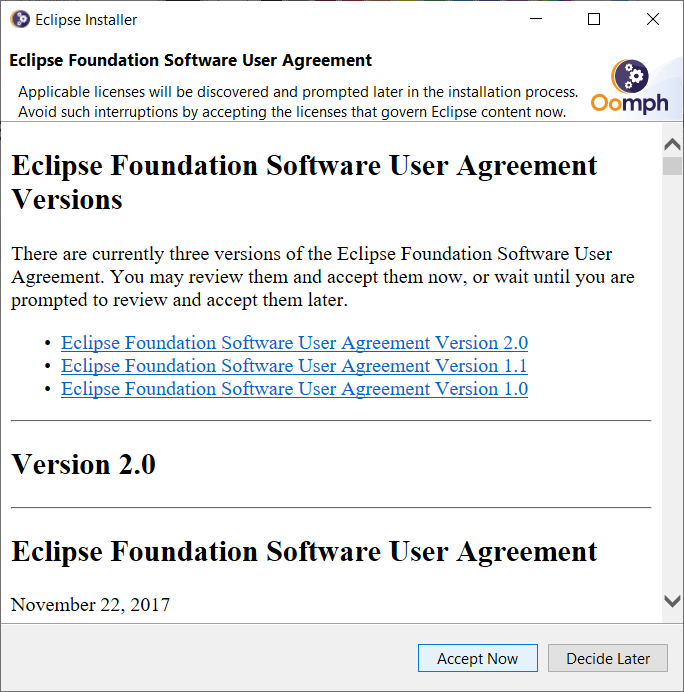
Click on "Accept Now" to acceptthe Eclipse license agreement to proceed with installation.
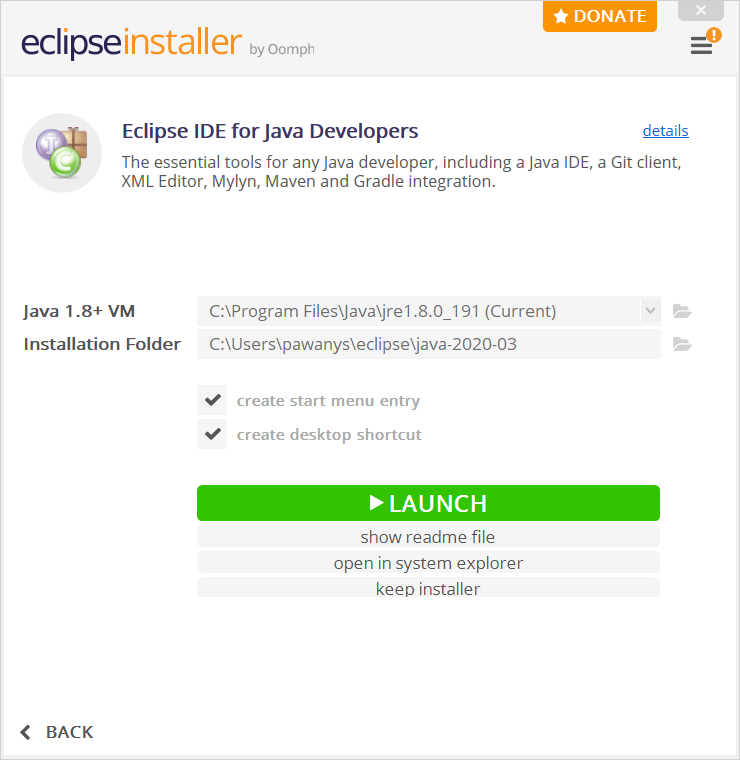
Once the installation completed, below screen appear.Click on launch to open Eclipse.
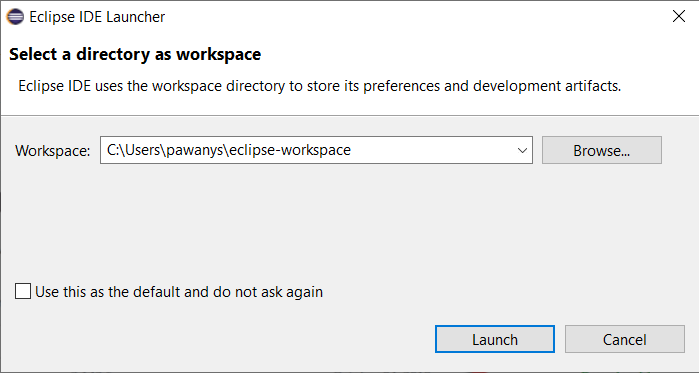
Select the "Workspace" and click on "Launch" button to open Eclipse.
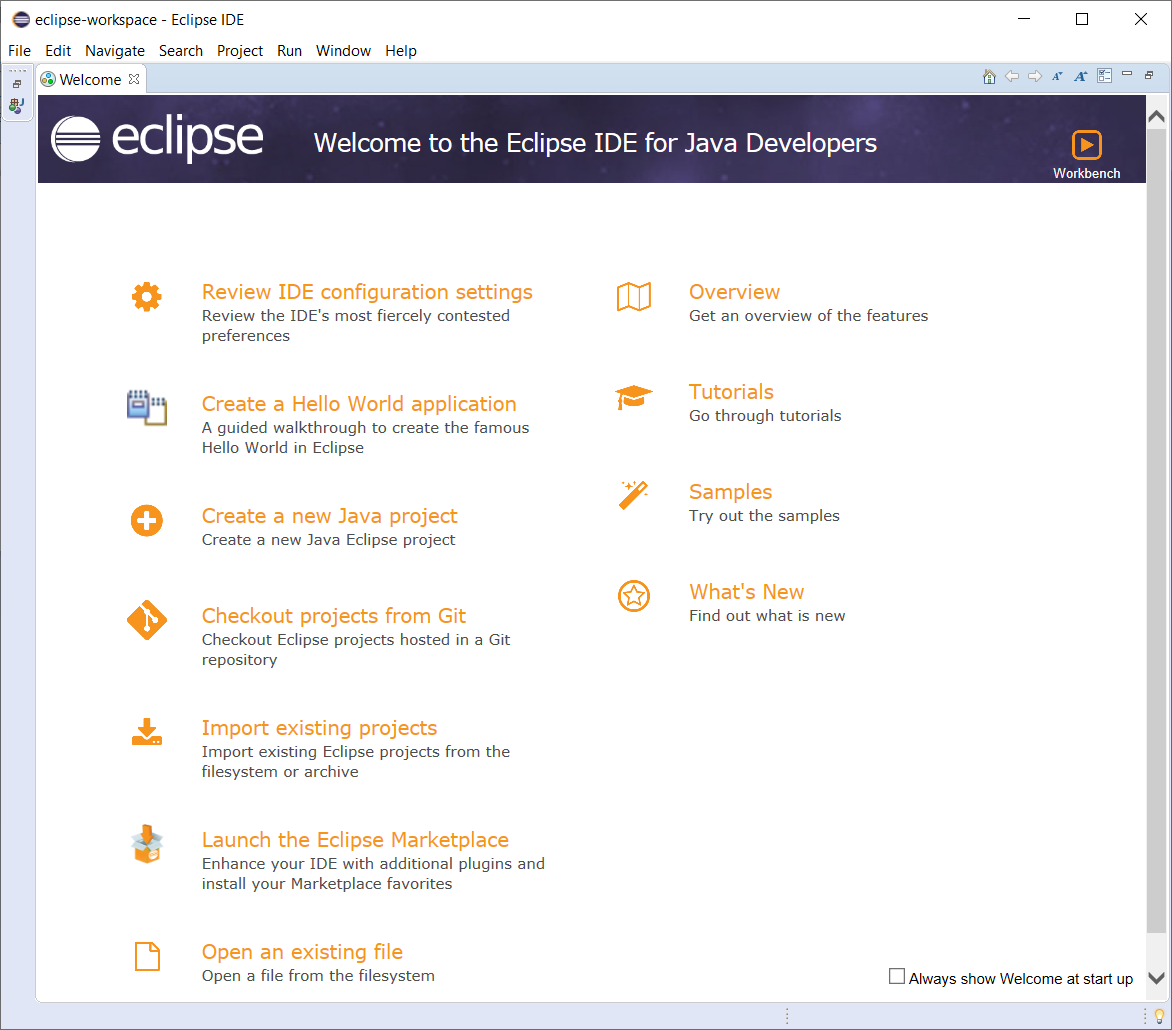
Eclipse Welcome page gets displayed like below. If welcome page gets displayed, then eclipse installation is successful.
Install Selenium Driver Files
Download Selenium Client & webdriver
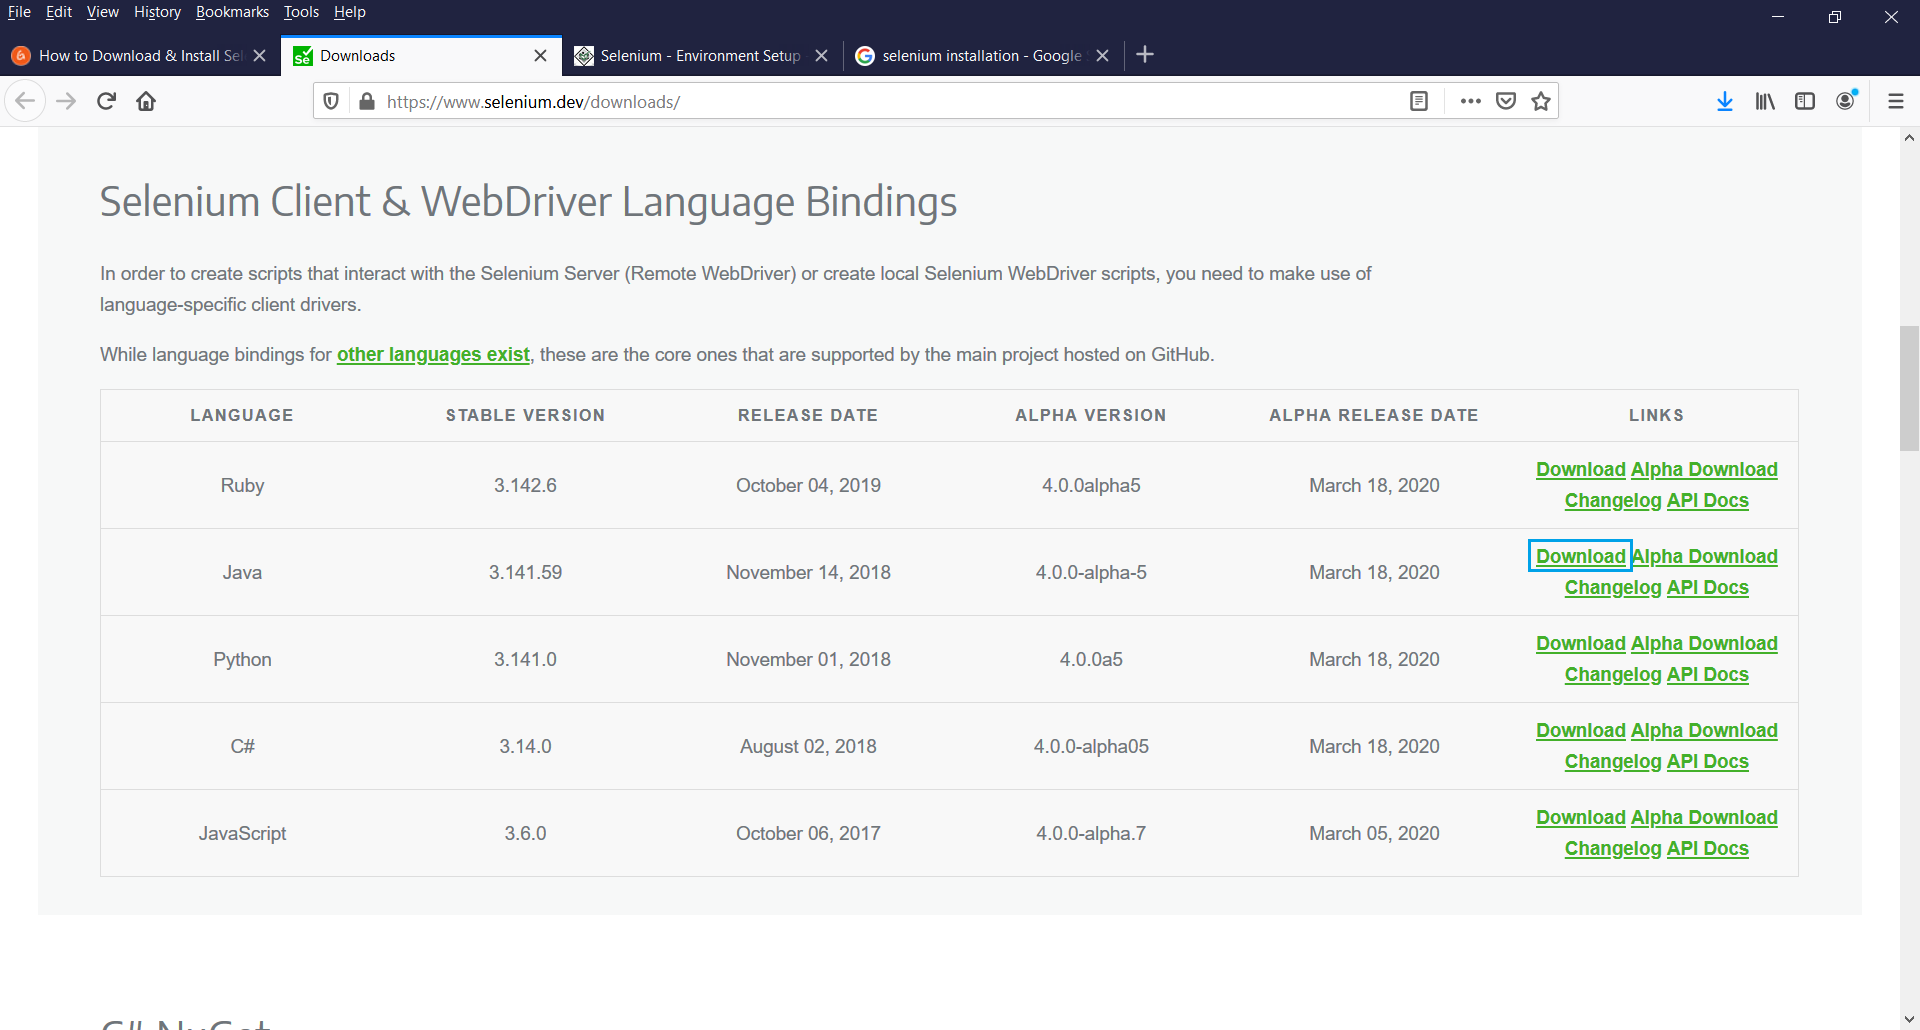
Navigate to the URL:"https://www.selenium.dev/downloads/" to download the "Selenium Client & WebDriver". Click on "Download" button corresponds to the Java language.
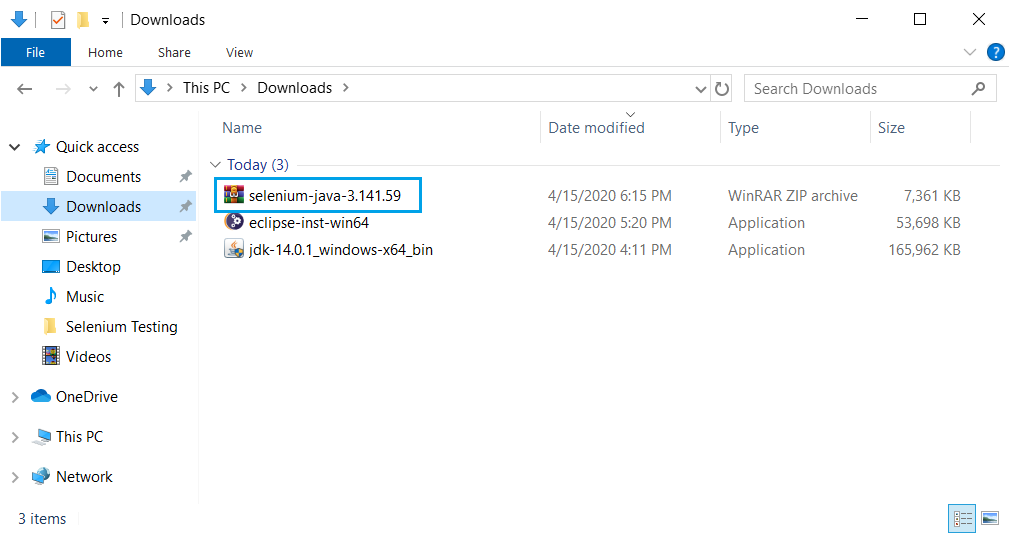
The current version of download comes as a ZIP file named "selenium-java-3.141.59.zip".
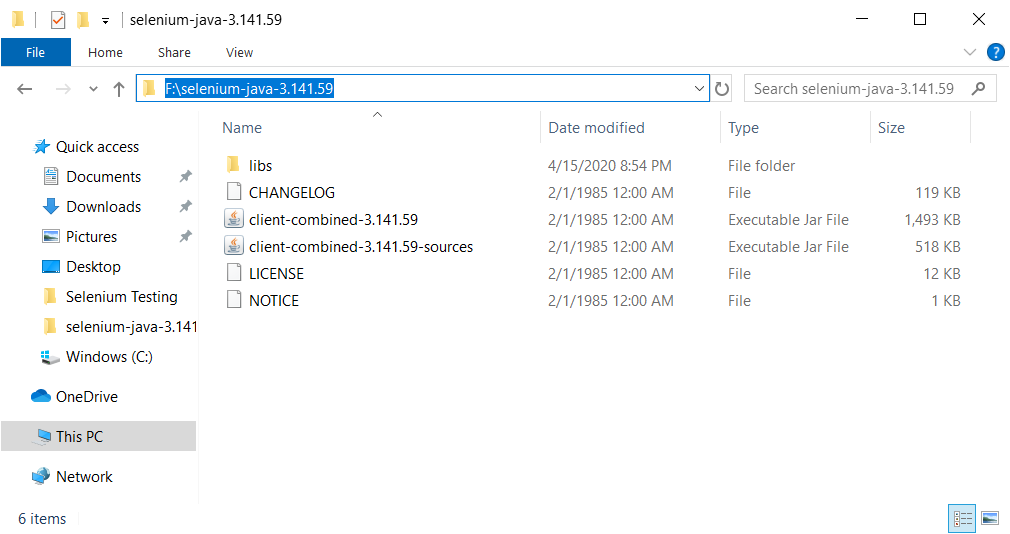
Extract the contents of this ZIP file to the F drive("F:\selenium-java-3.141.59"). This directory contains all the JAR files that are later import on Eclipse.
Create Java project, package & class
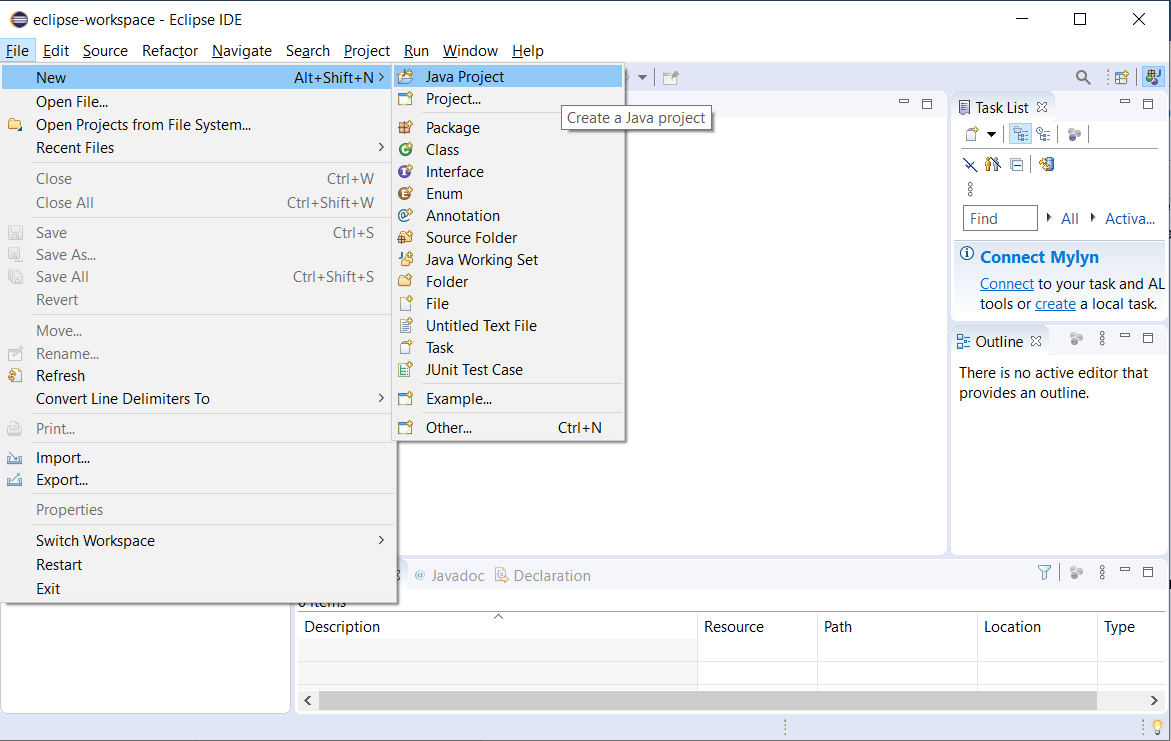
Create the new Selenium Project thrrough "File > New > Java Project".
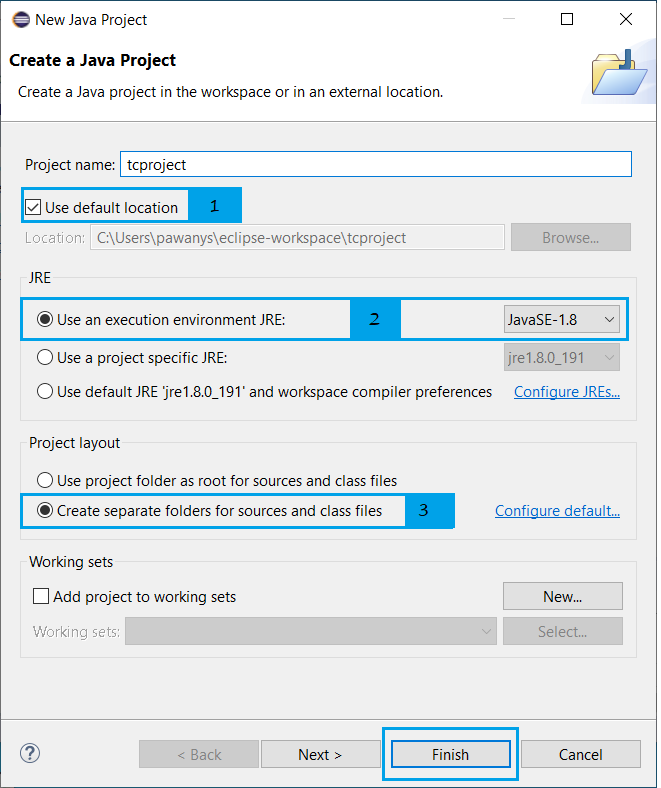
New popup gets opened. Name the project as "tcproject".
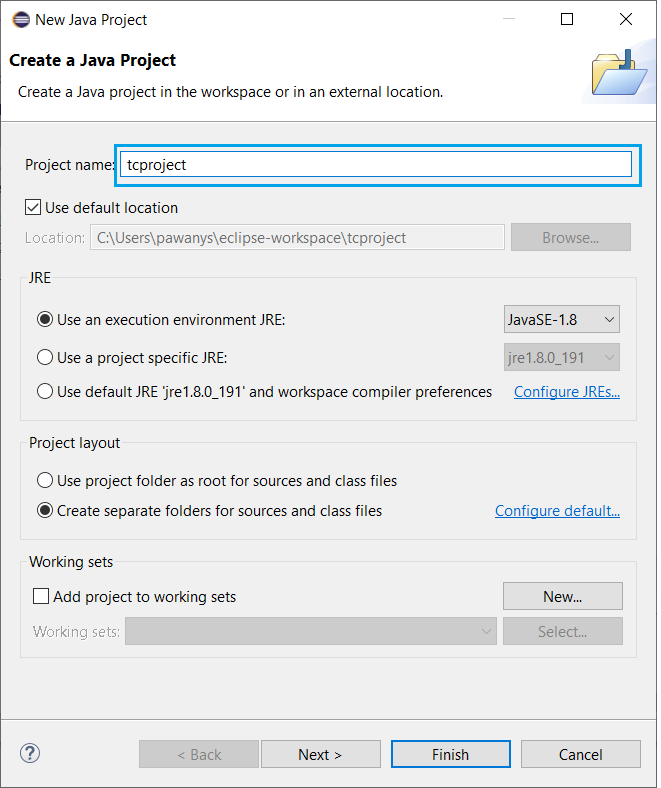
Verify the below details and click on "Finish" button to proceed further.
- "Use default location" option should be checked.
- "Use an execution environment JRE:" should be checked.
- "Create separate folders for sources and class files" should be checked.
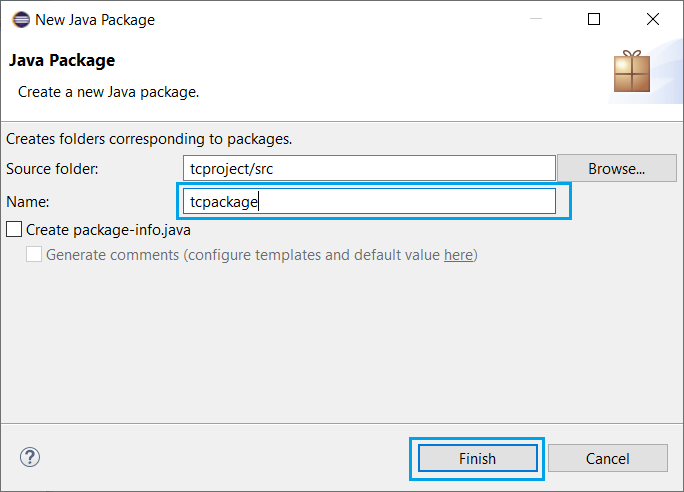
"Right click" on newly created "Selenium project" and select "New > Package"
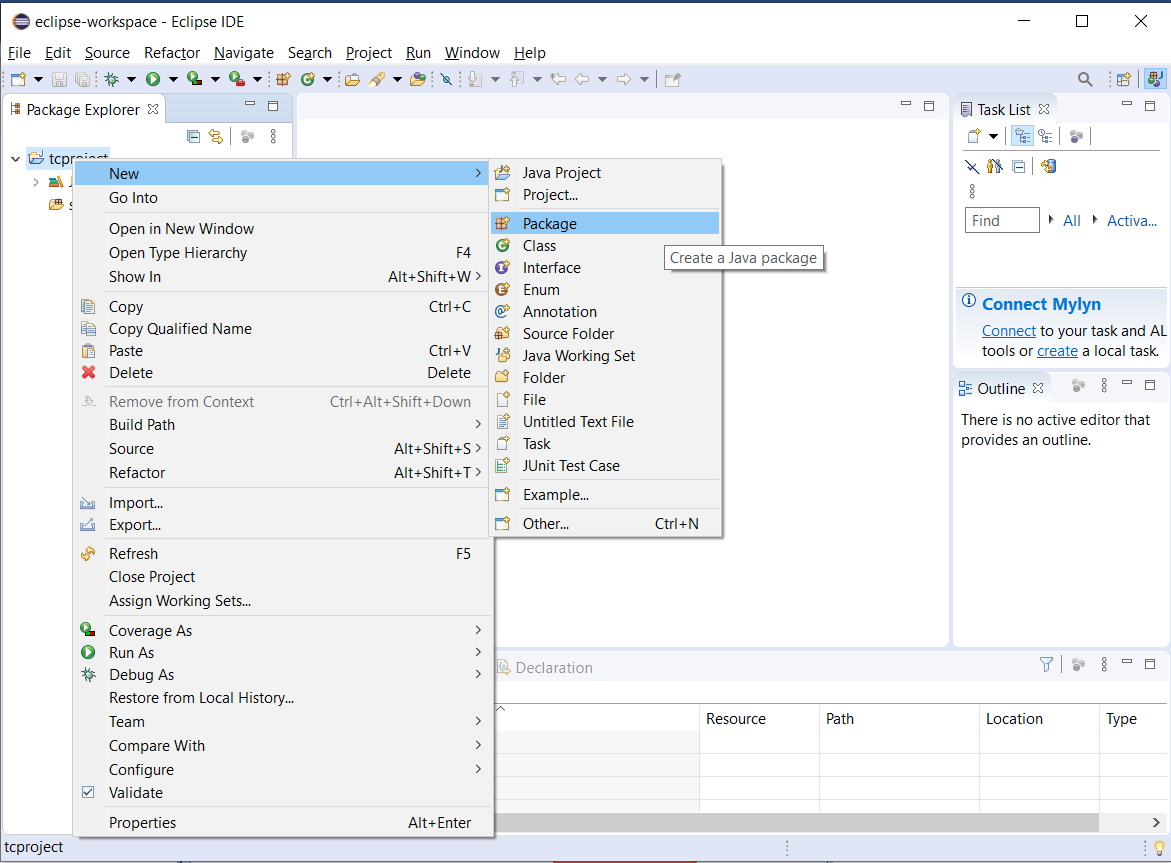
Popup gets opened. Enter the name of the Package as "tcpackage" and click on "Finish" button.
"Right click" on newly created package "tcpackage" and select "New > class".
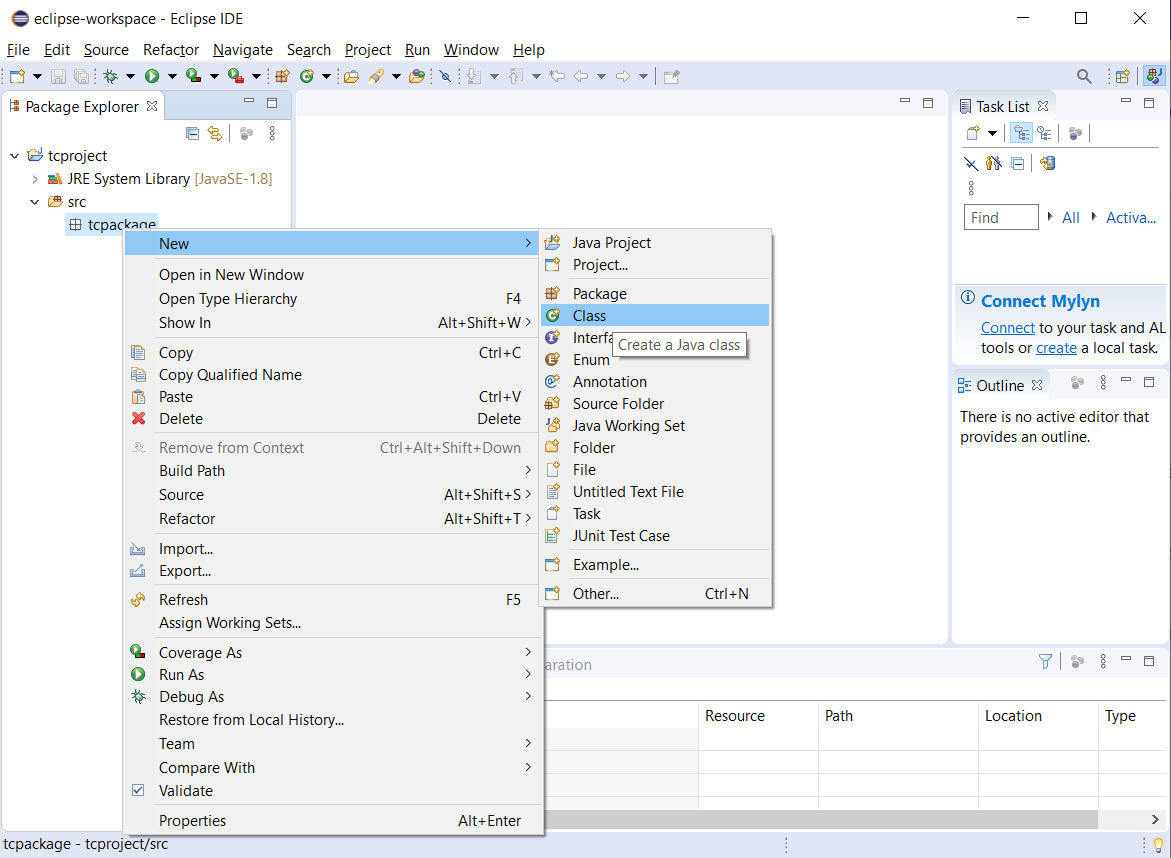
Popup gets opened. Enter the name of class as "MyClass" and click on "Finish" button to proceed.

Now selenium WebDriver's into Java Build Path and the eclipse now looks like below.

Add JAR files to "libs" folder:
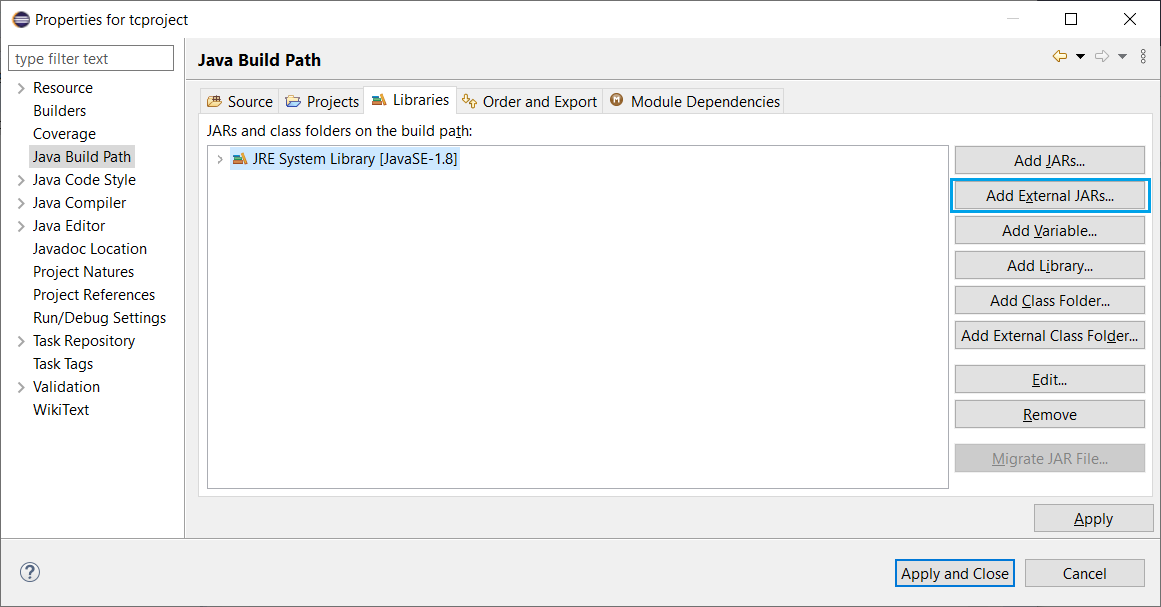
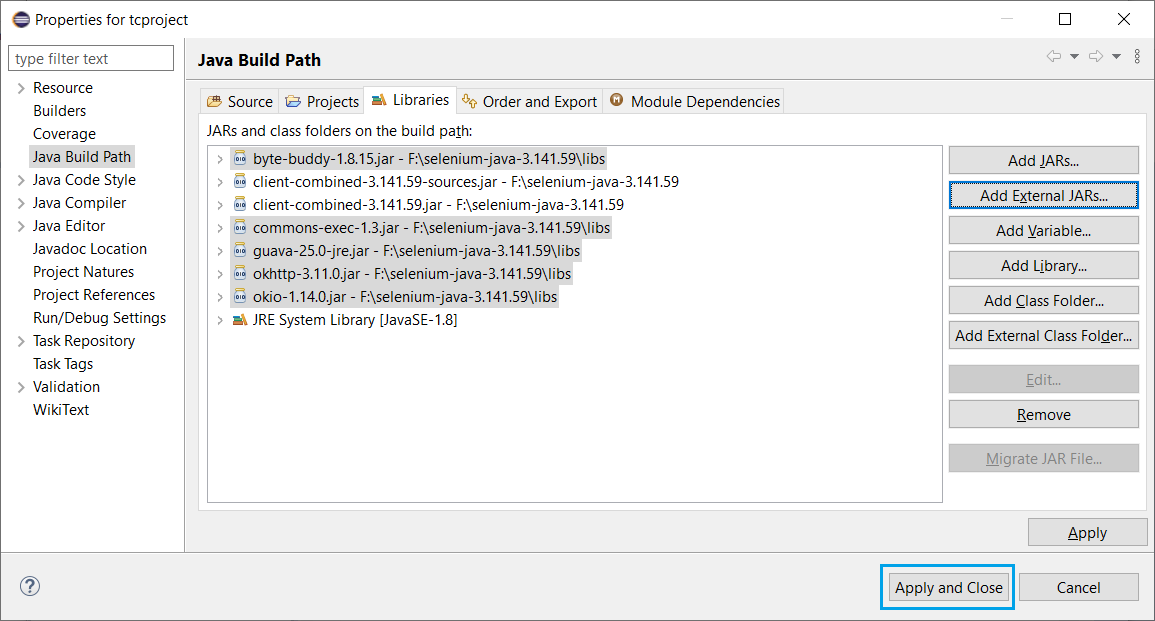
Right click on "tcproject" and select "Properties".
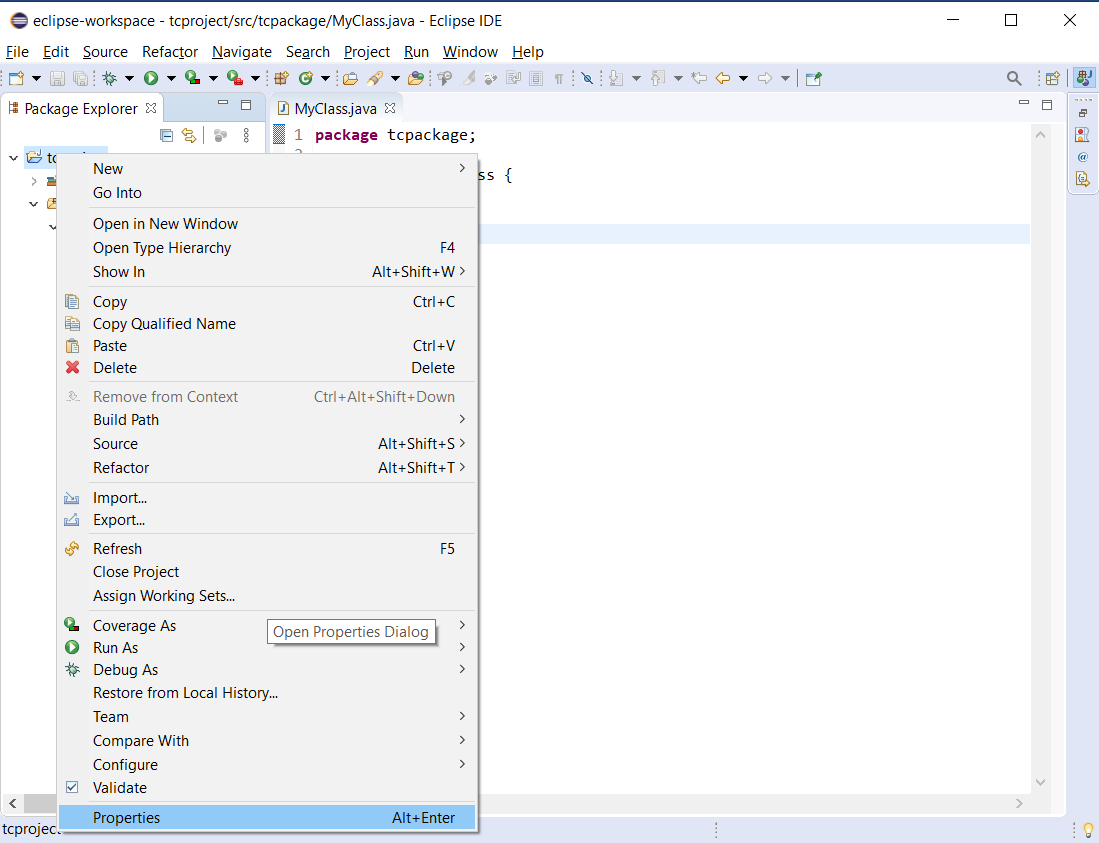
Properties dialog gets opened for "tcproject". Click on "Java Build Path".
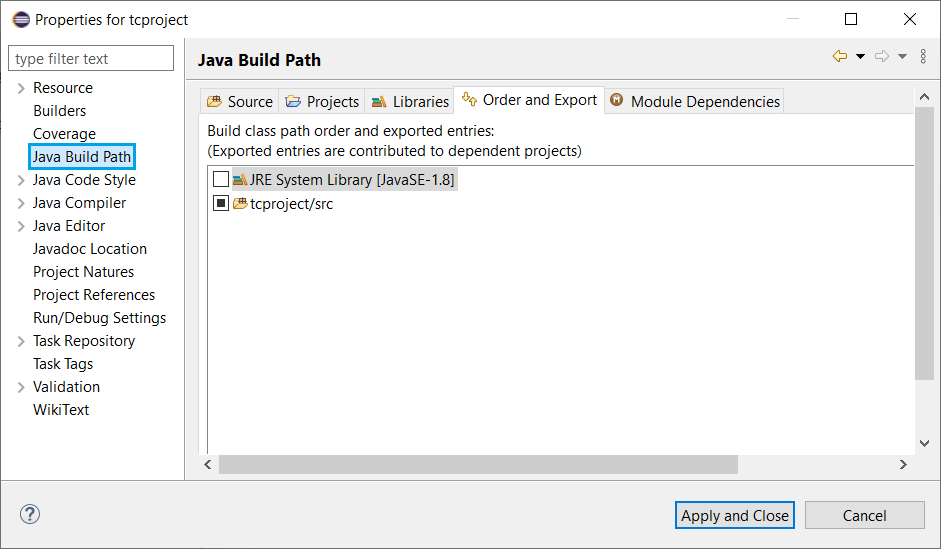
Select "Libraries" tab.
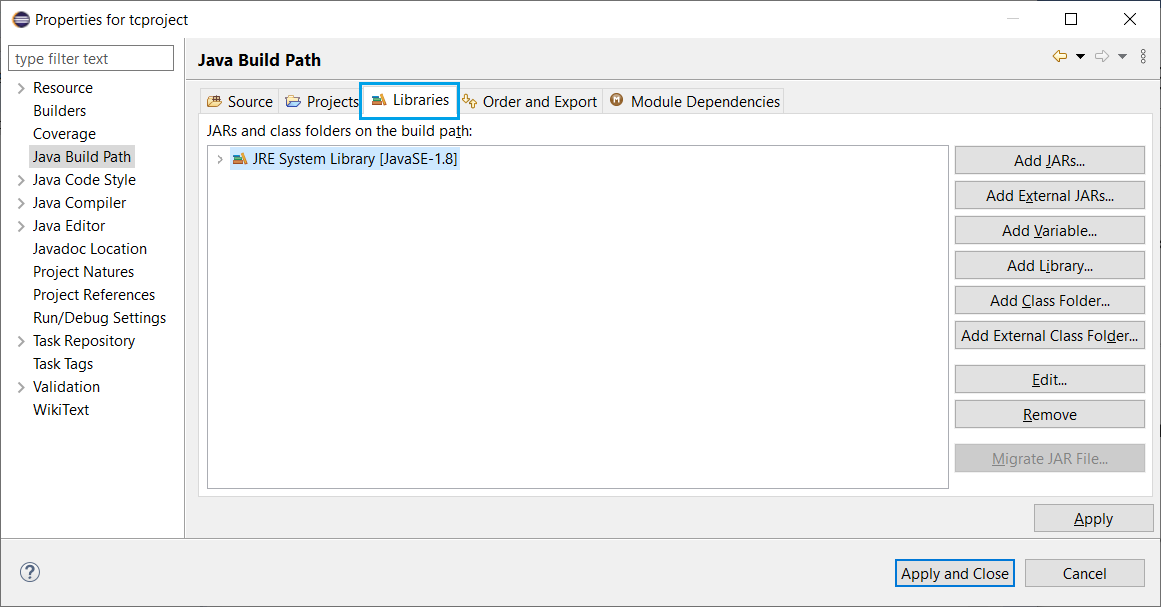
Click on "Add External JARs" button to add external libraries.
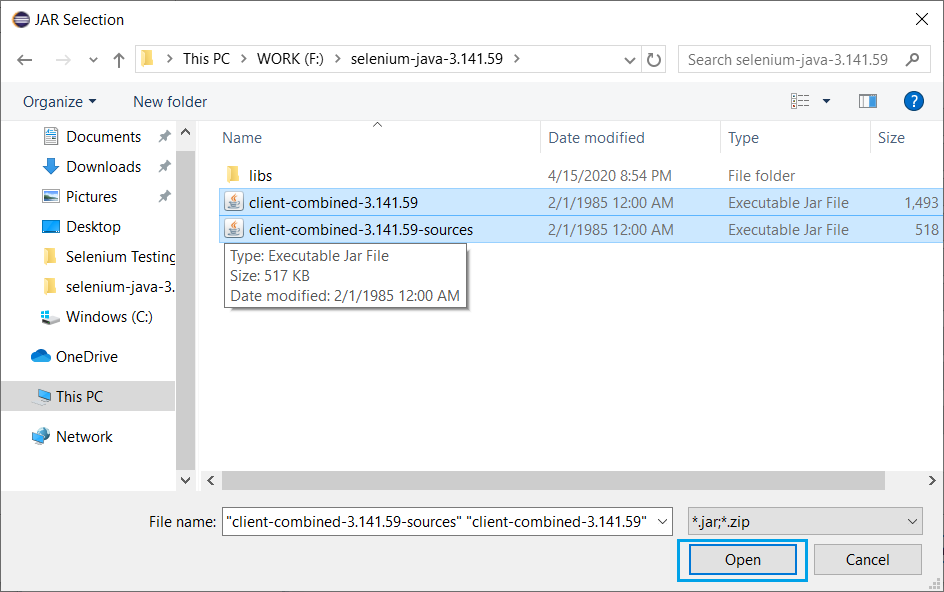
Select external JAR files from downloaded Selenium library in the previous steps. Select the files and Click on "Open" button.
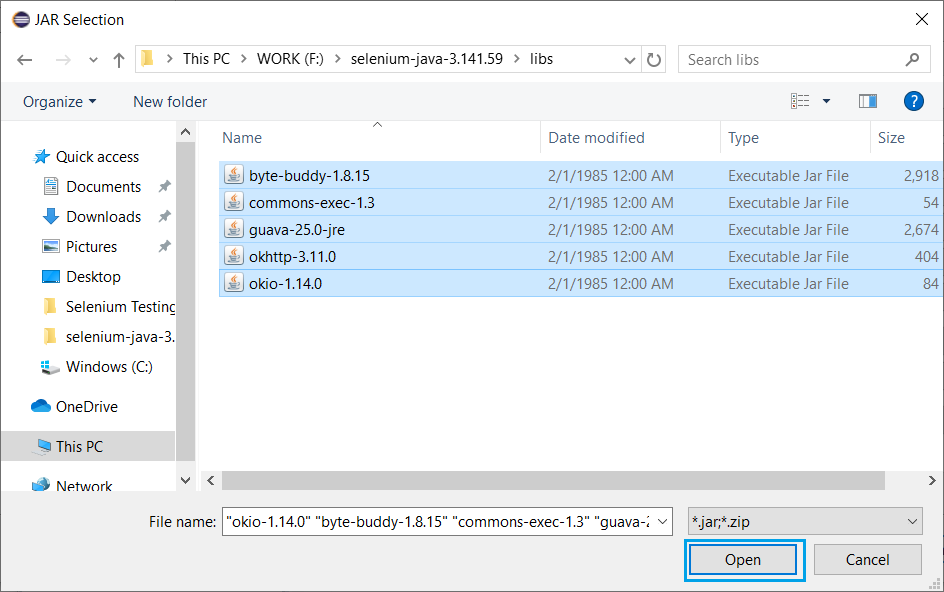
Do the same for JAR files in "lib" directory as well.
After adding all external JAR files, the popup looks like below.
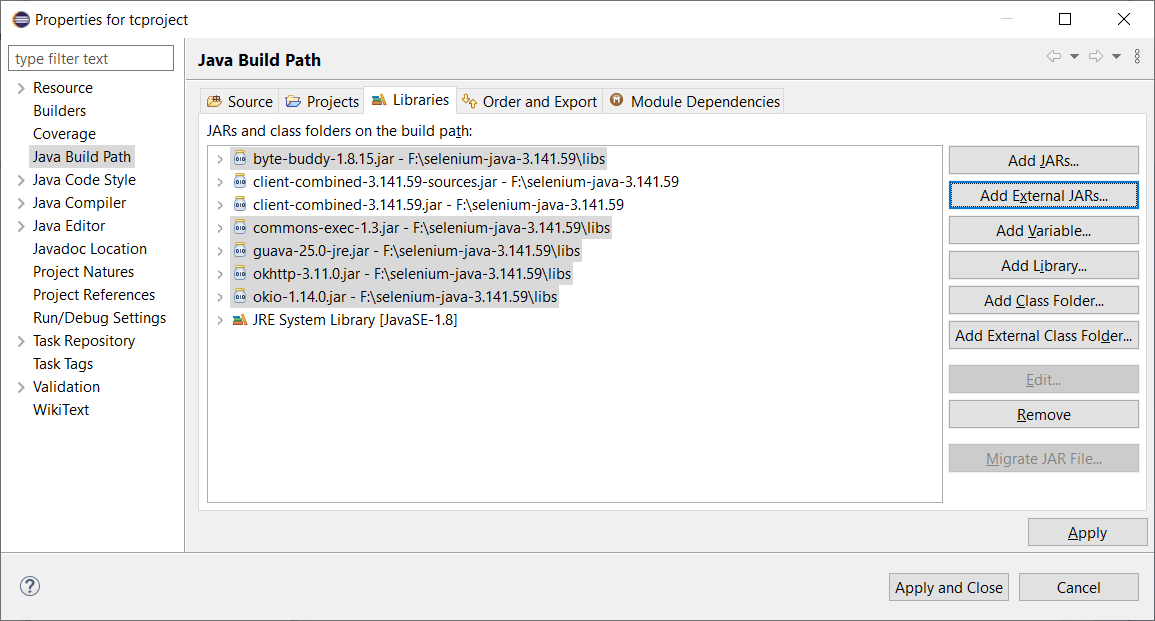
Once done, click on "Apply and Close".
Now, importing Selenium libraries into our project is completed.