
Selenium IDE Login Test
In this article, we are going to use the recording feature of Selenium IDE to create a Login script. In general, the test script creation process in Selenium IDE can be classified into four steps -
- Recording (recording user interactions with the browser).
- Saving the test suite.
- Playing back (executing the recorded script).
- Exporting Test Script.
Let follow the steps one by one to create the login test case of logging into "gmail" with userid and password -
Recording
Launch Chrome browser. Click on the Selenium icon (SE) present on the top right corner of the browser.

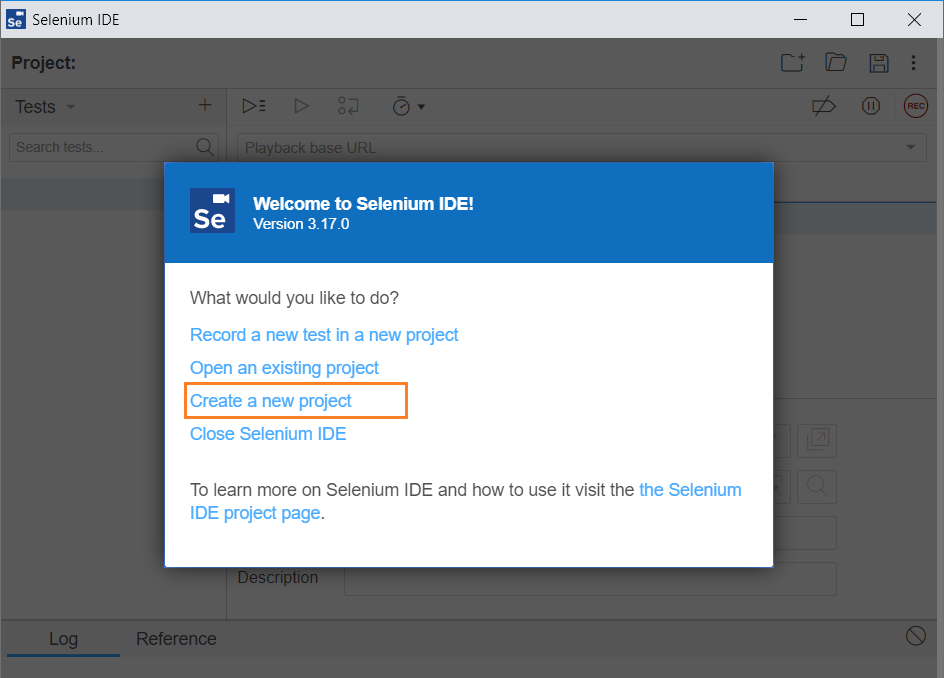
It launches the default Selenium IDE interface.

Click on "Create a new project" to create test project.
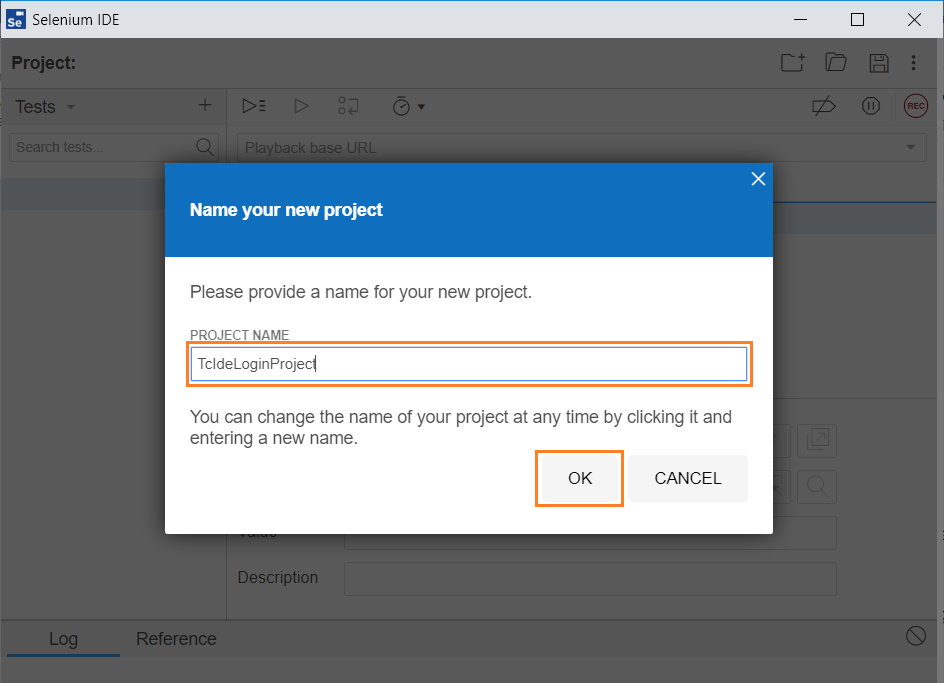
Enter the name of the project as "TcIdeLoginProject" and click on "Ok".
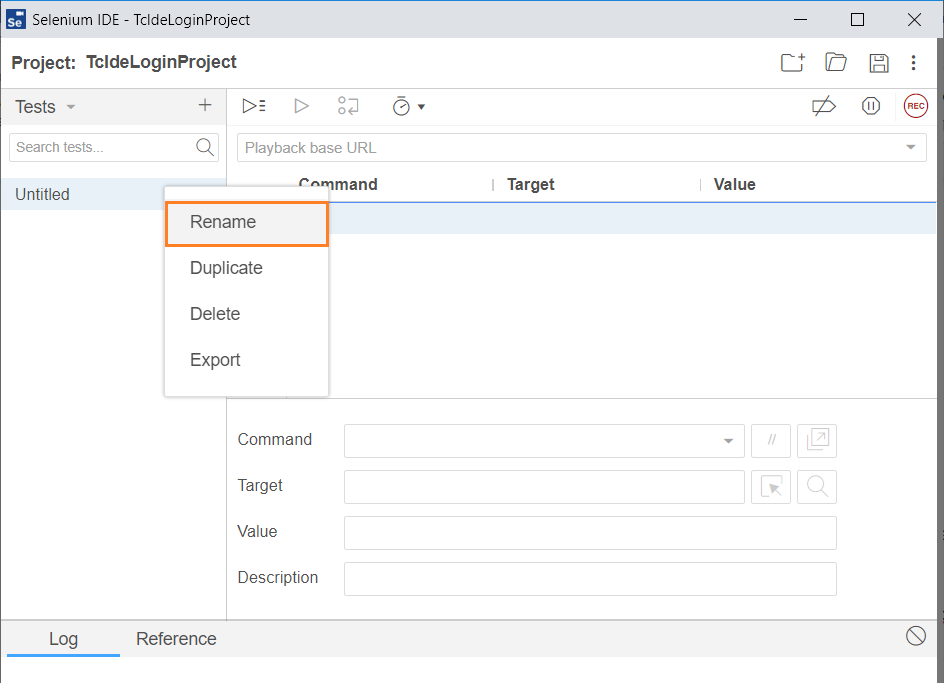
Navigate to test case panel, Right click on "Untitled" and click on "Rename" option to rename the test case.
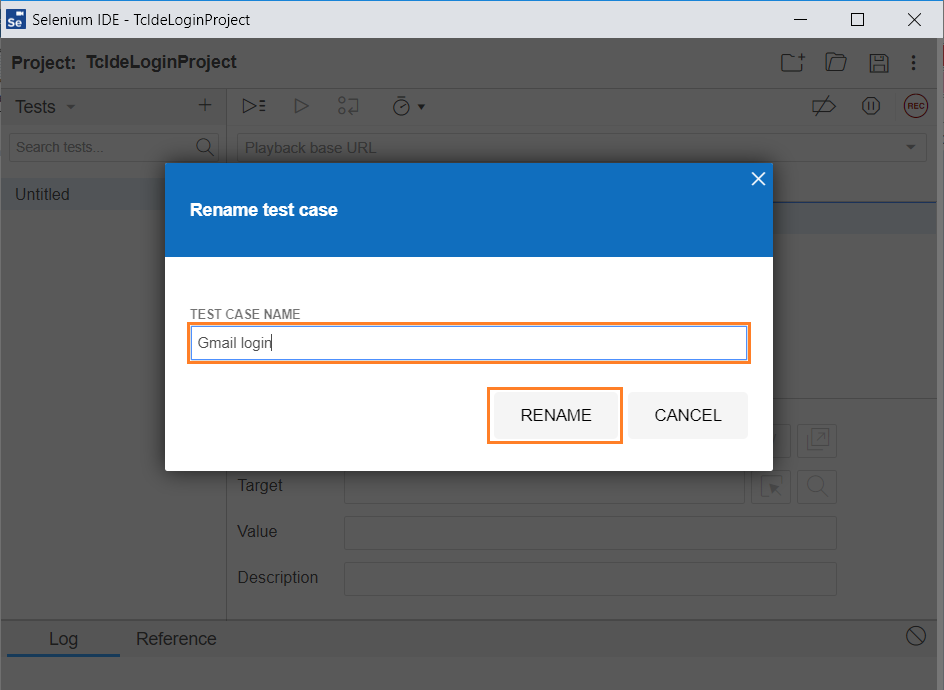
Enter the test case name as "Gmail login" and click on "Rename" button.
Click on the "Recording" Button present on the top right corner on the IDE to start recording the test case.

It opens the below popup if the project is creating first time.
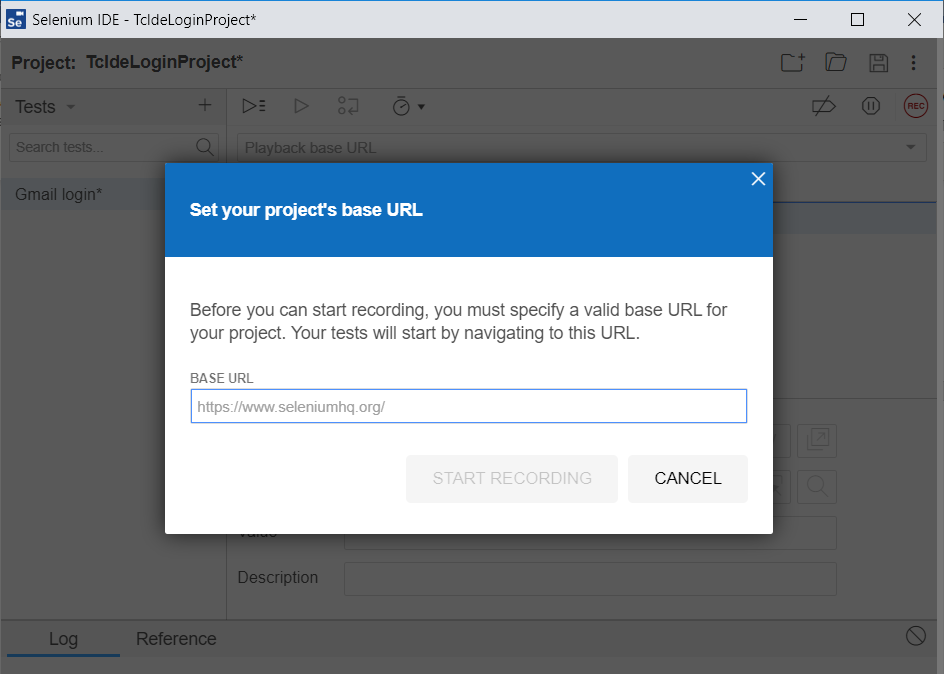
Enter the base URL and click on "Start Recording" button.
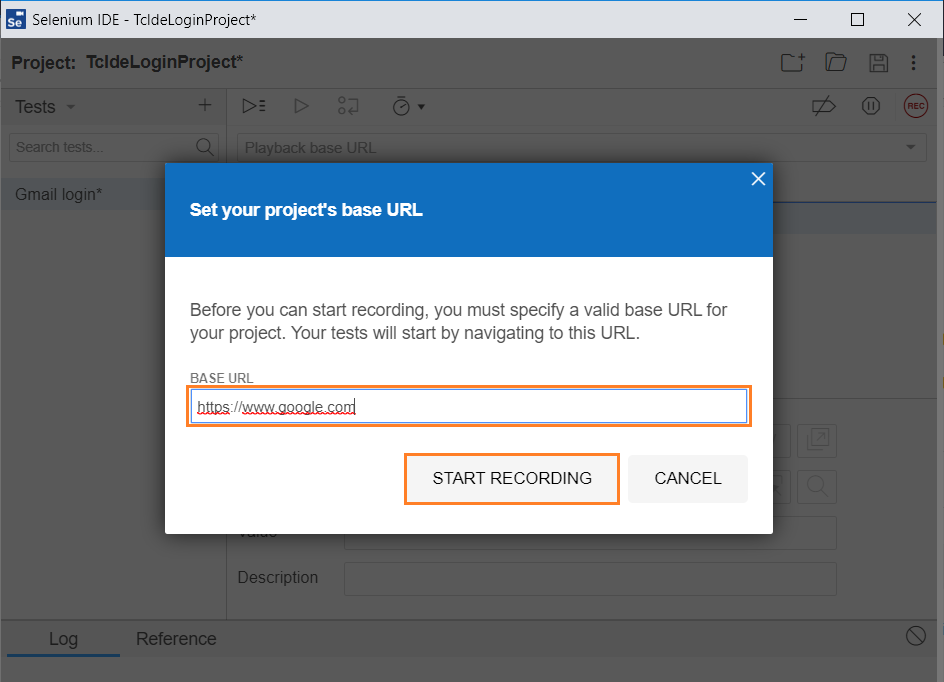
Note: - The above two steps are not always shown and only displays when creating the project for the first time.
It opens the Chrome with the base URL like below -
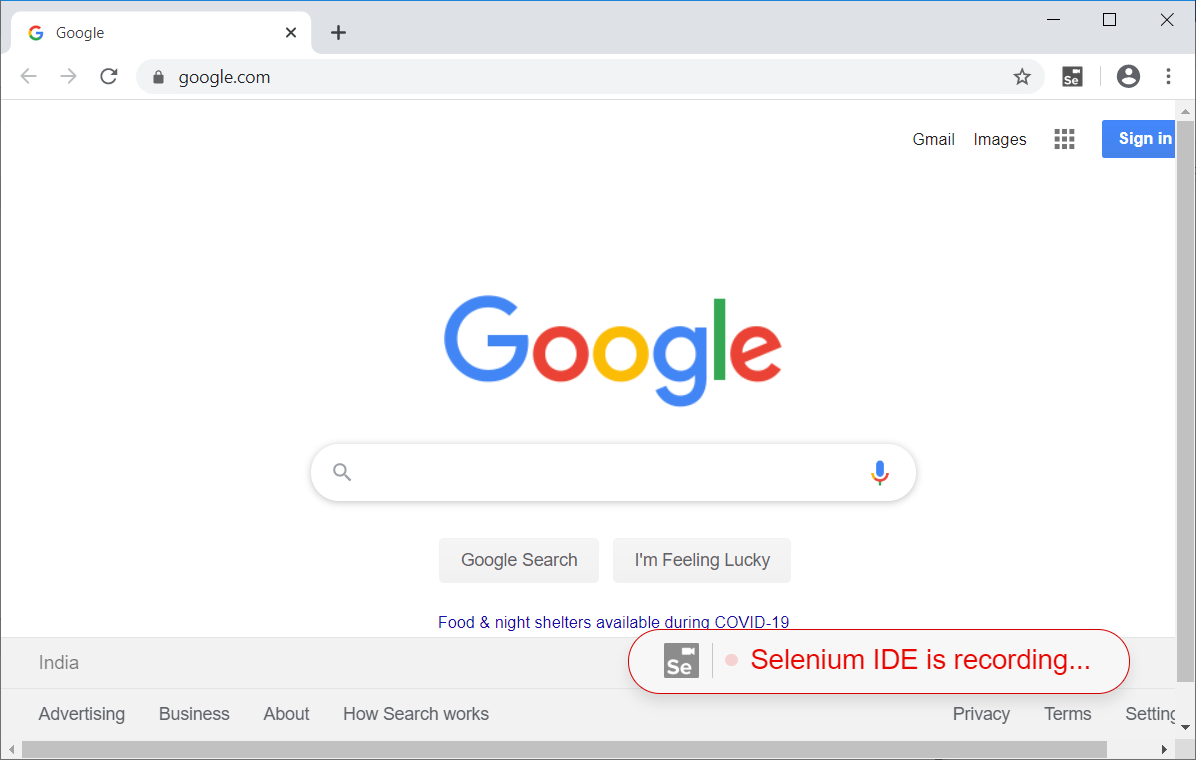
Click on "Gmail" link to to open gmail login page.

Enter the gmail loginid and hit "Enter" or click on "Next".
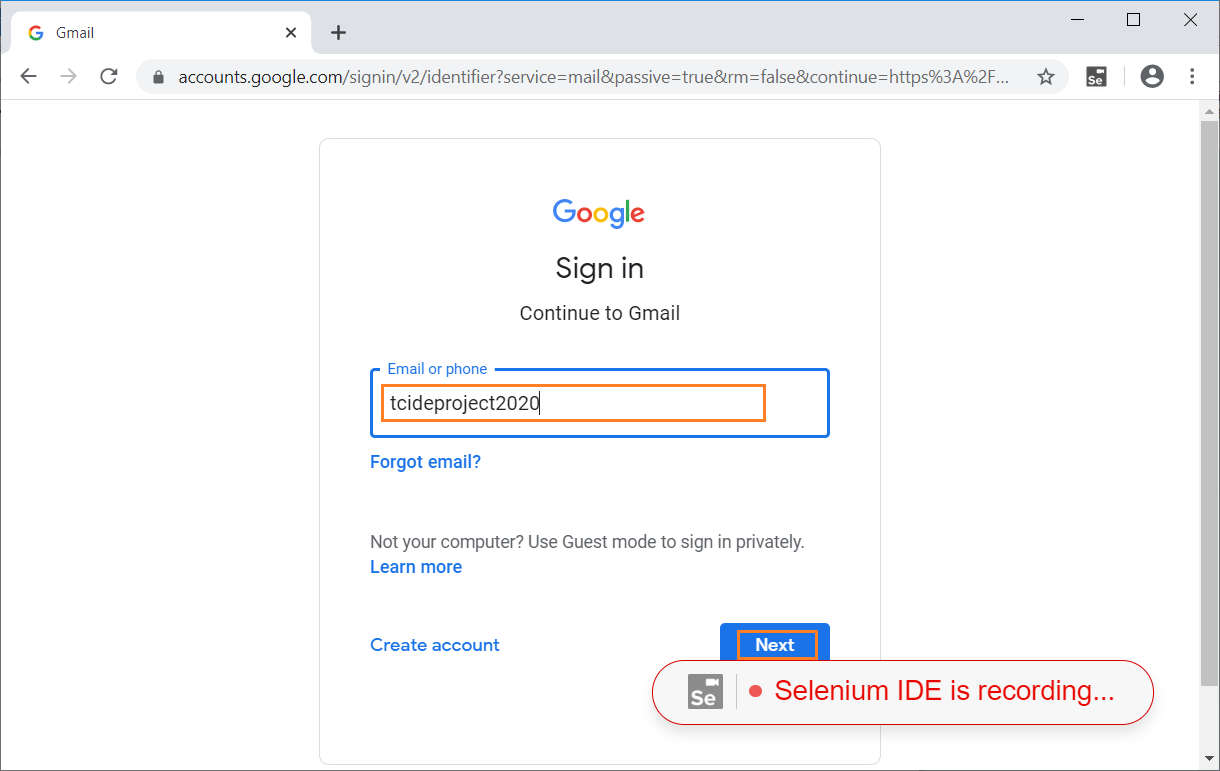
Enter the gmail password and hit "Enter" or click on “Next".
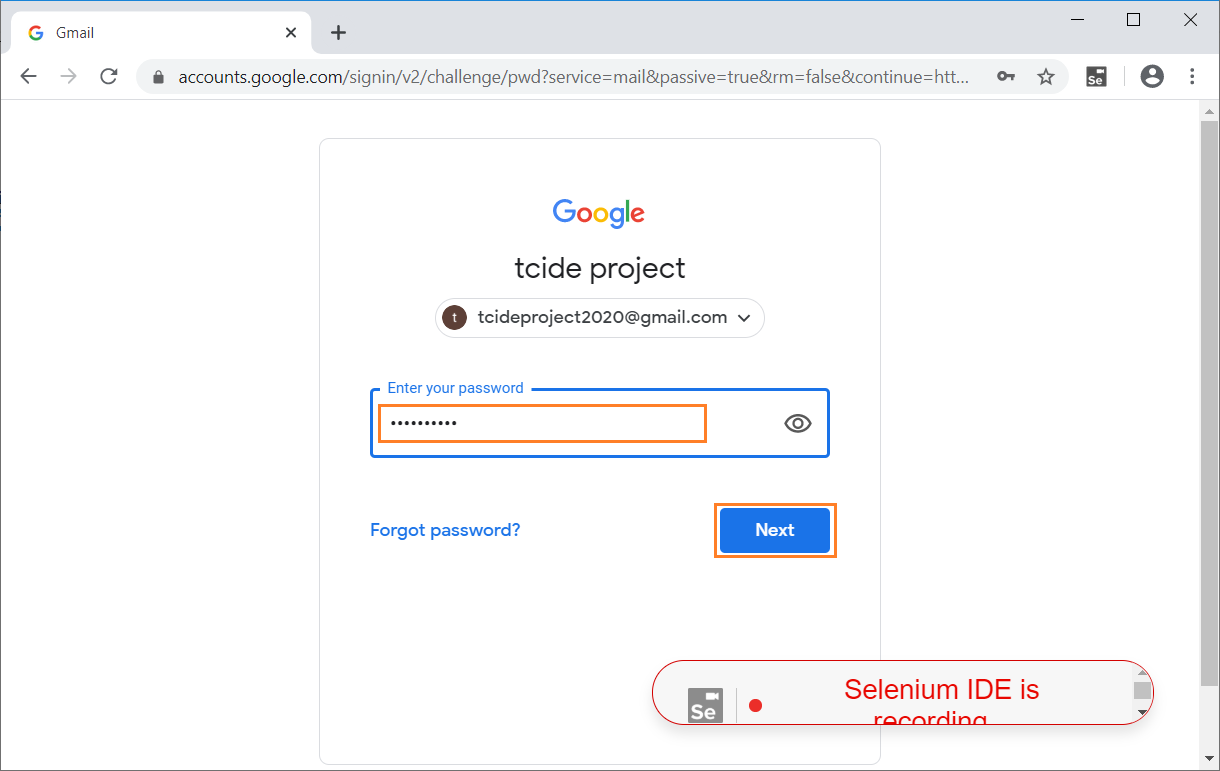
Now, successfully login to Gmail and inbox gets displayed.
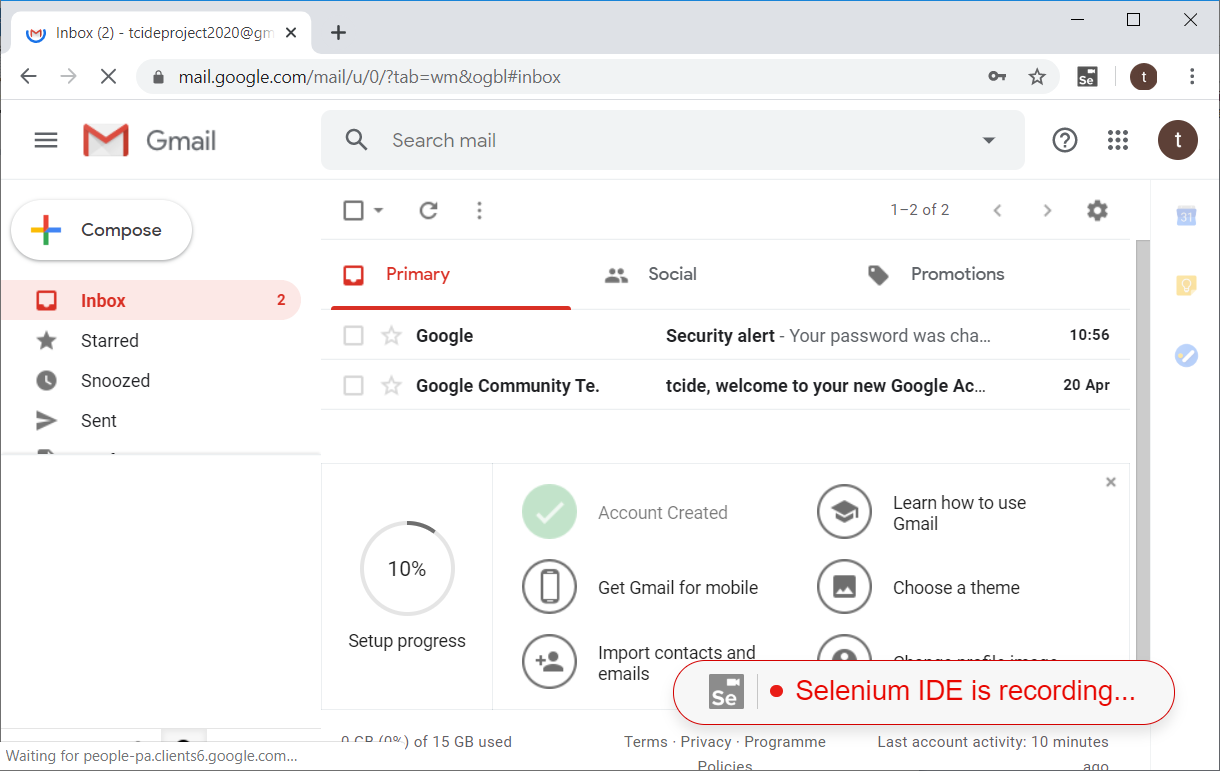
During the process, we get the actions notifications performed by the IDE at the bottom right corner of web browser.
Now, go the IDE and click on the "Recording" button to stop recording of the actions.
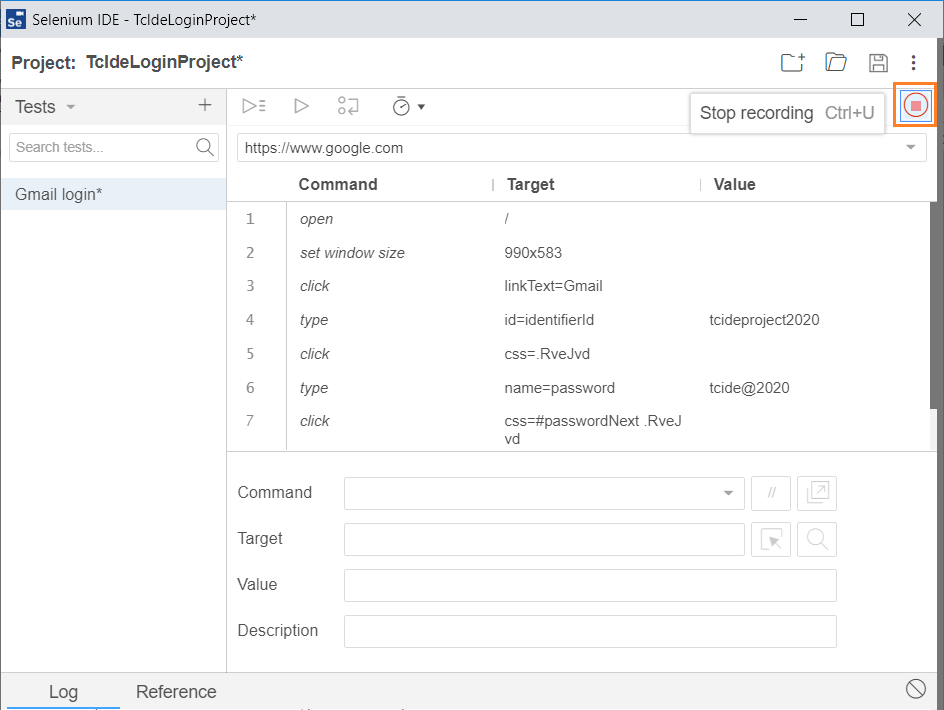
The Test Editor box now contains the list of all interactions with the browser we made. Now, check all the browser actions made and proceed to the next step of saving the script.
Saving the test suite
Click on the save button present on the right top corner of the menu bar.
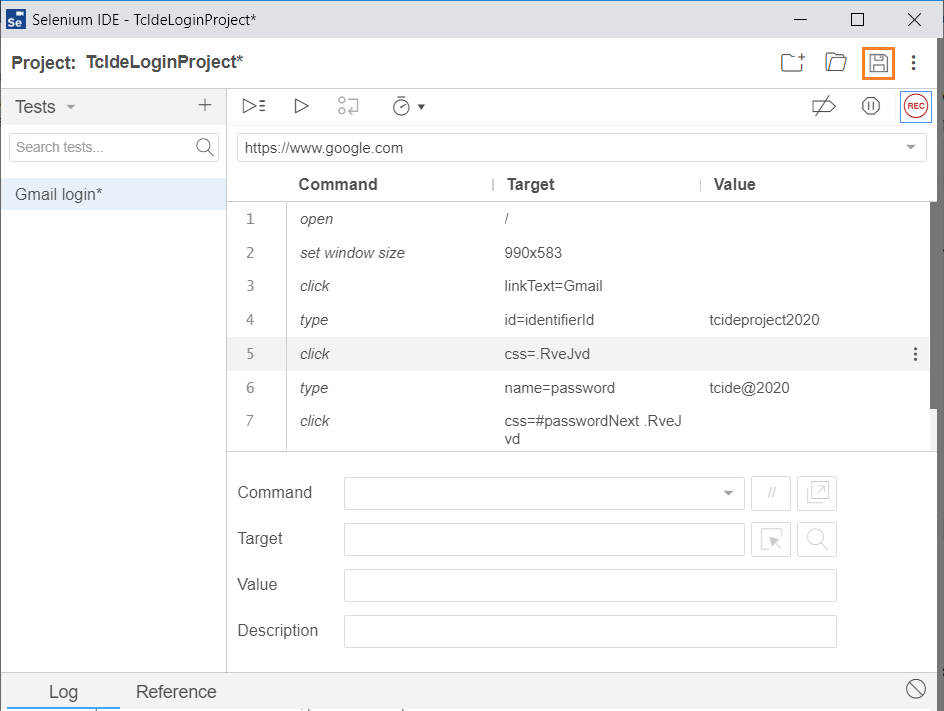
Save the entire test suite as "TcIdeLoginProject".
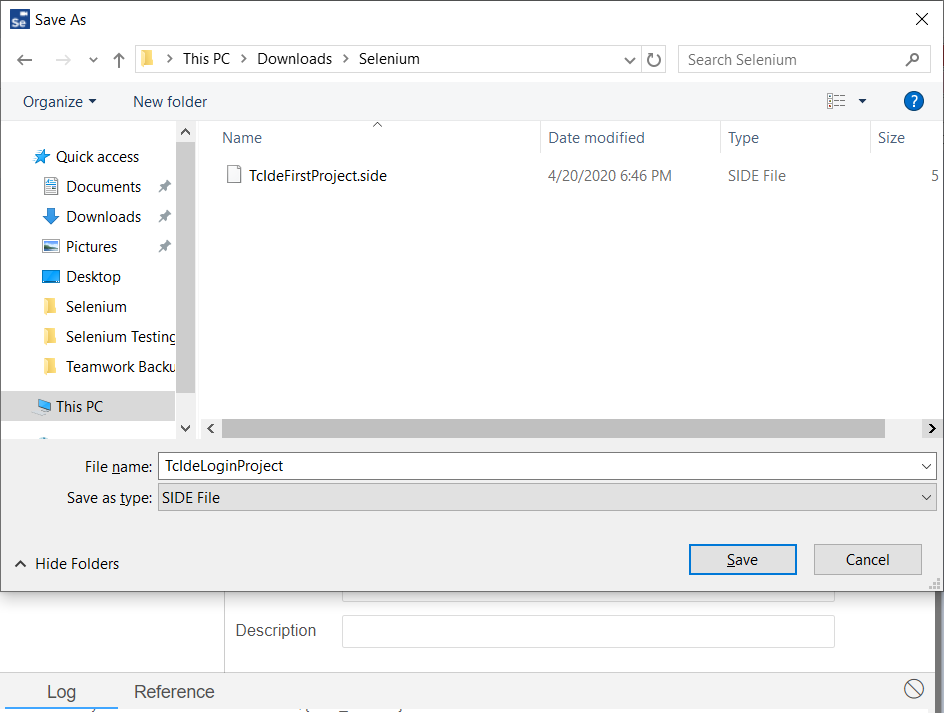
Note: - The saved test script is saved in .side format.
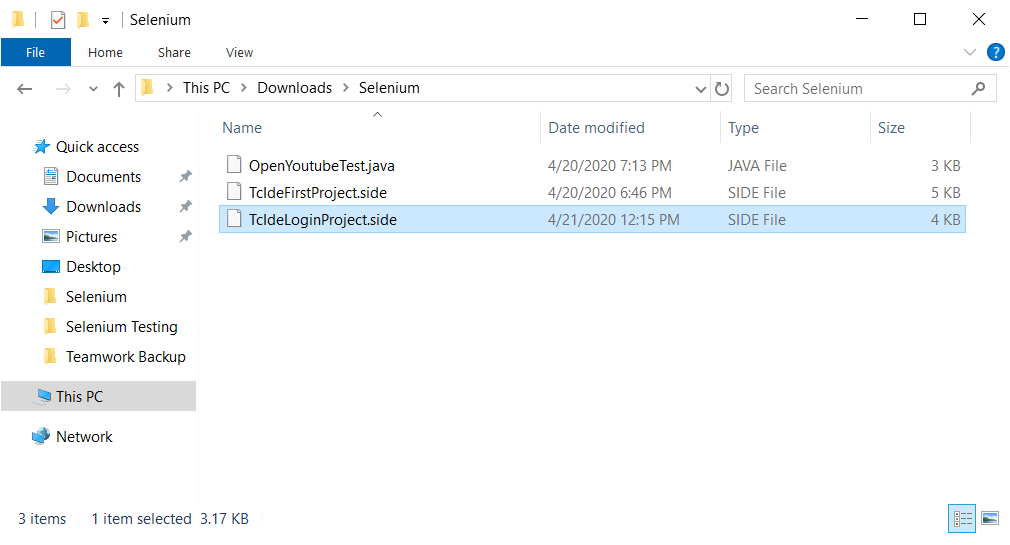
The test suite can be found at the local disk at the location provided in the above steps.
Playing Back
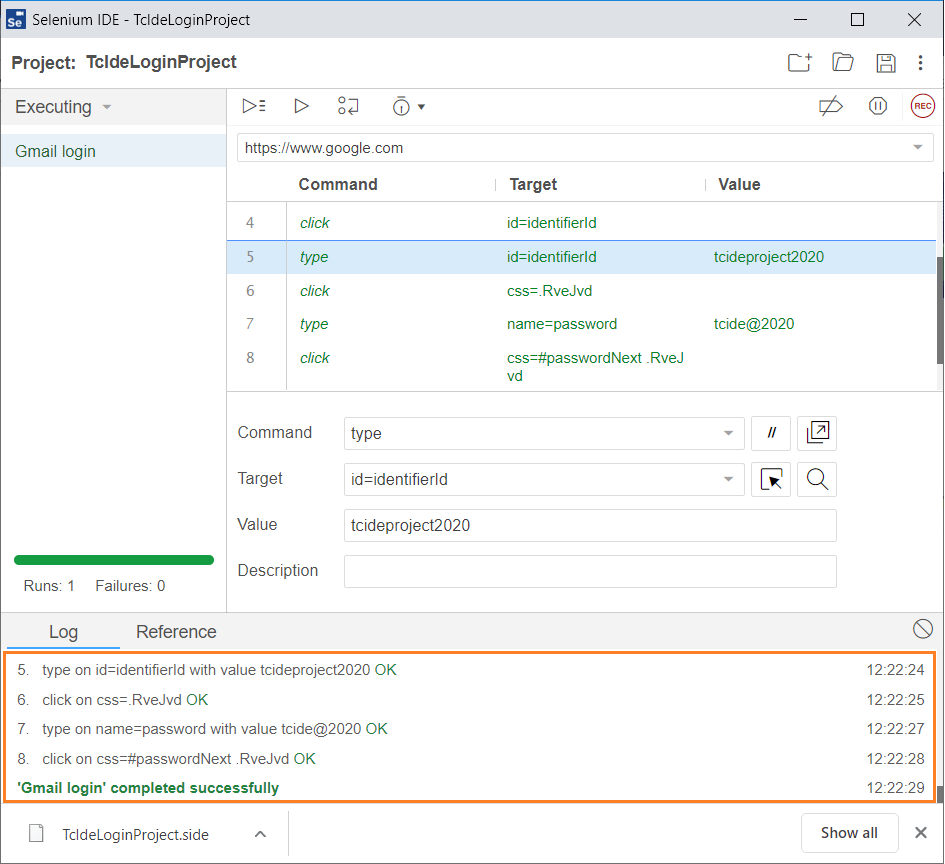
Click on the "Run Current Test" button exists on the tool bar menu of the IDE.
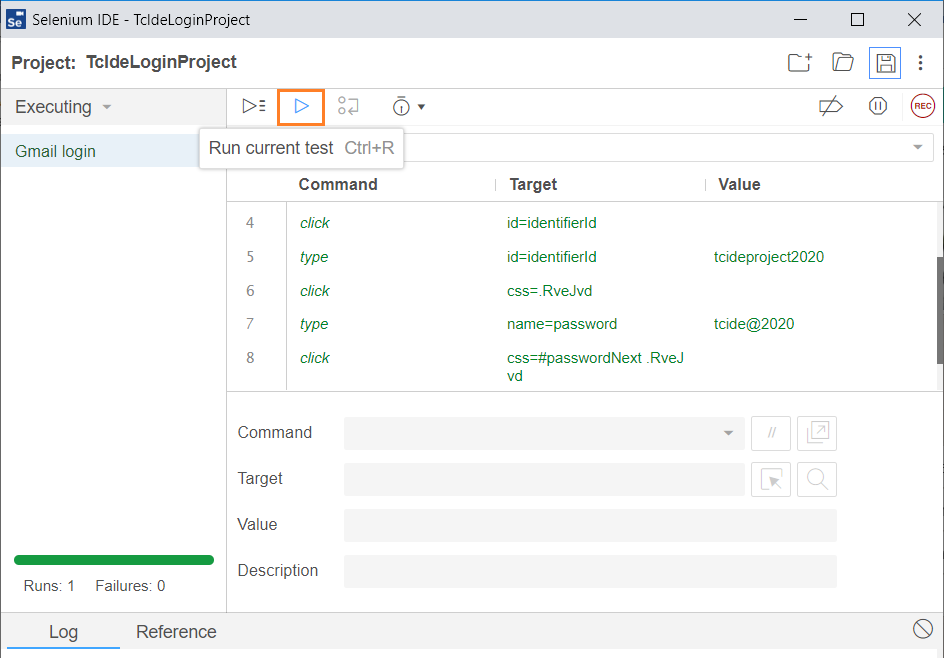
It executes all interactions with the browser and gives an overall summary of the executed test script.
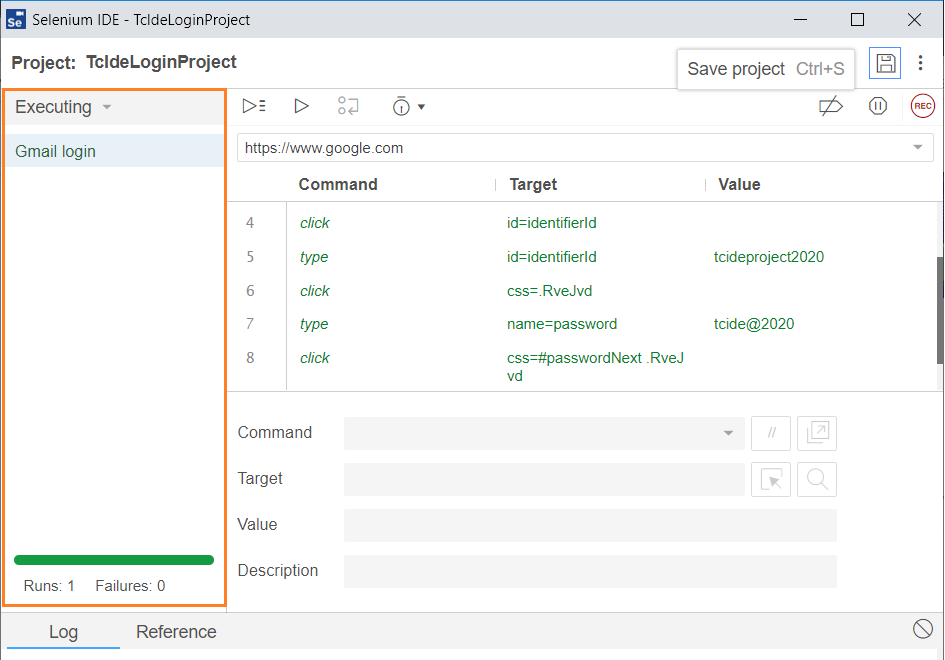
The Log panel displays the overall summary of the executed test scripts.
Export Test Script
There is no file menu present in the latest version of Selenium IDE interface. So the Export option moved to the test suit box.
Follow the below steps, to export the test case in different languages from selenium IDE -
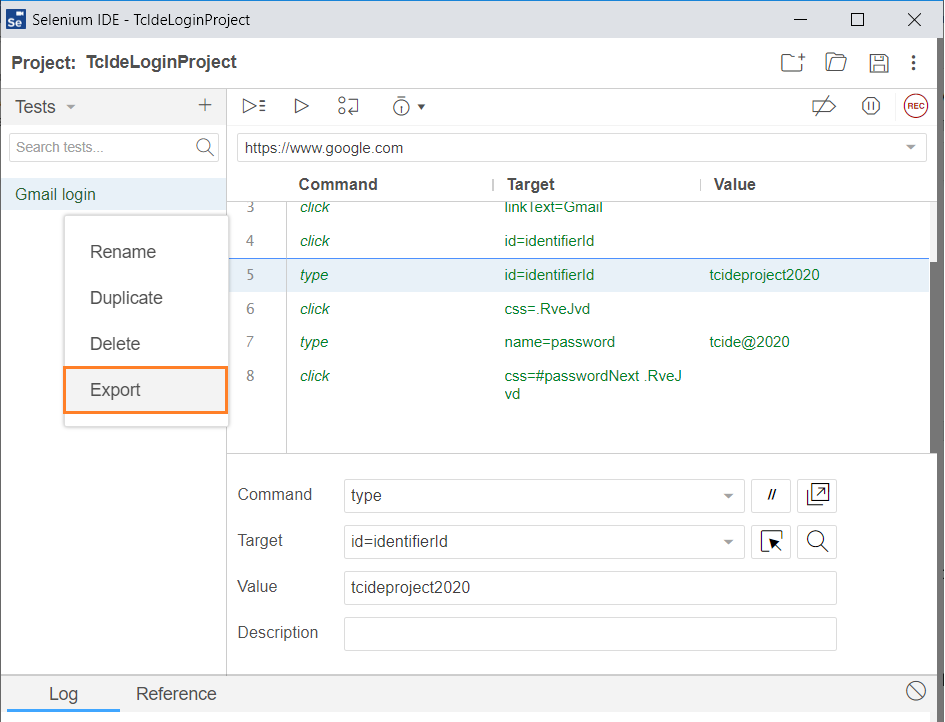
To see the "Export" option, right click on the test case name or click on "three dots" beside the test case name.
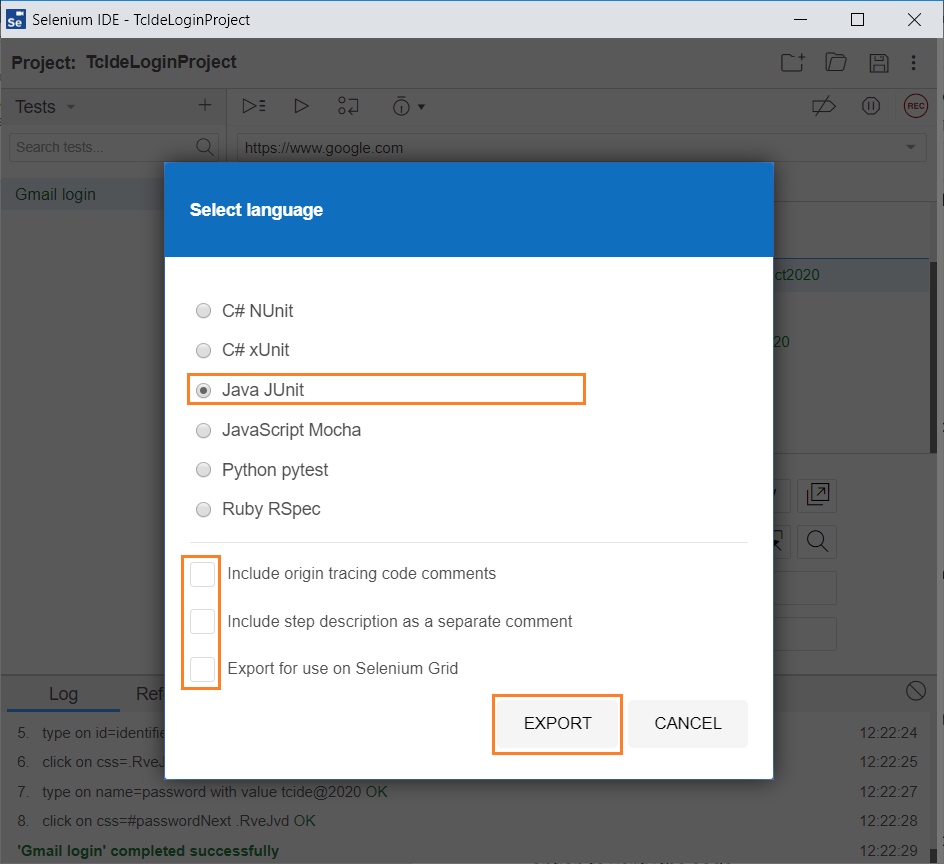
After click on the export button, one pop-up window gets opened and ask to select one of the programming languages like below.
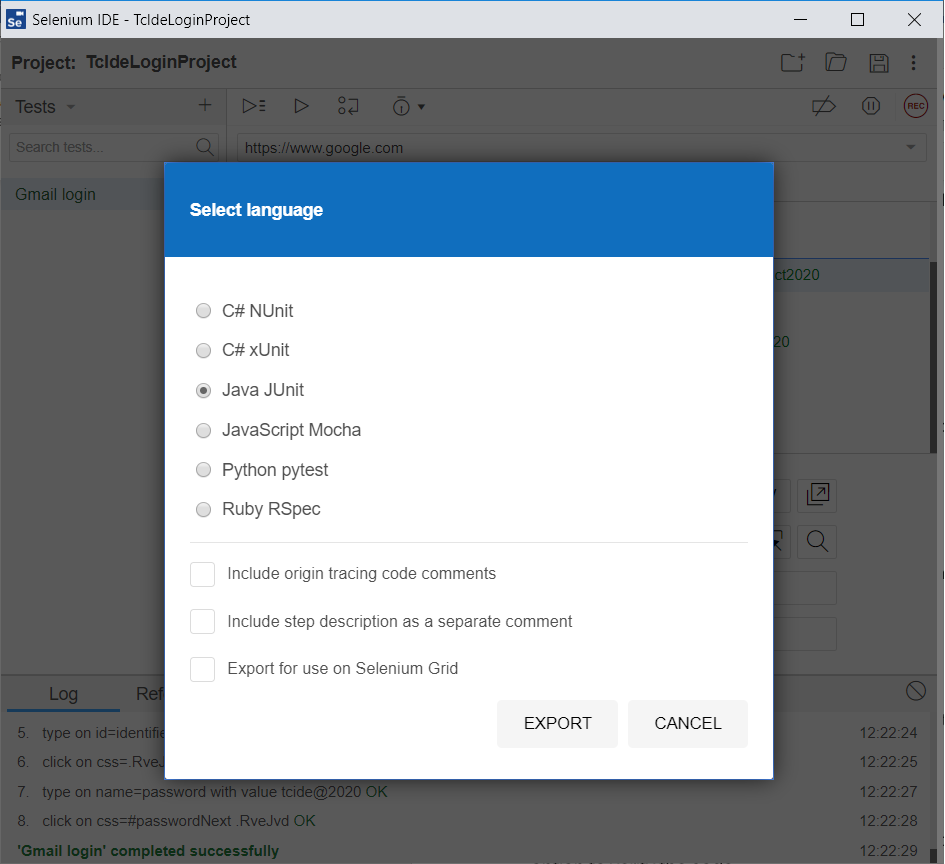
Select one of the language options, check the comment options if required and click on the "EXPORT" button.
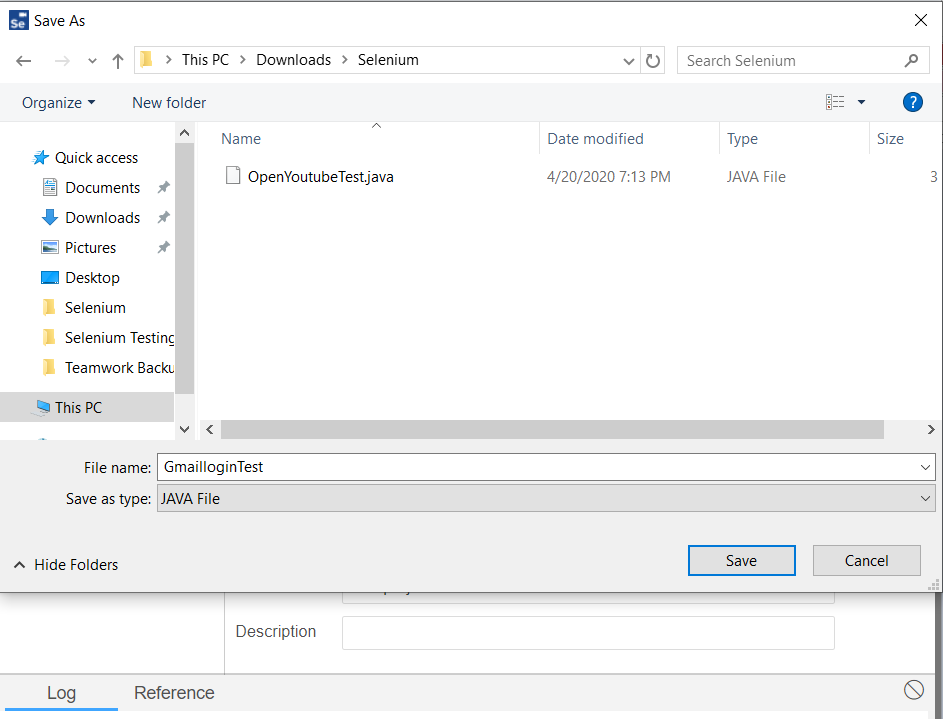
Export test case file to the local system and save it with a specific name (as you wish).
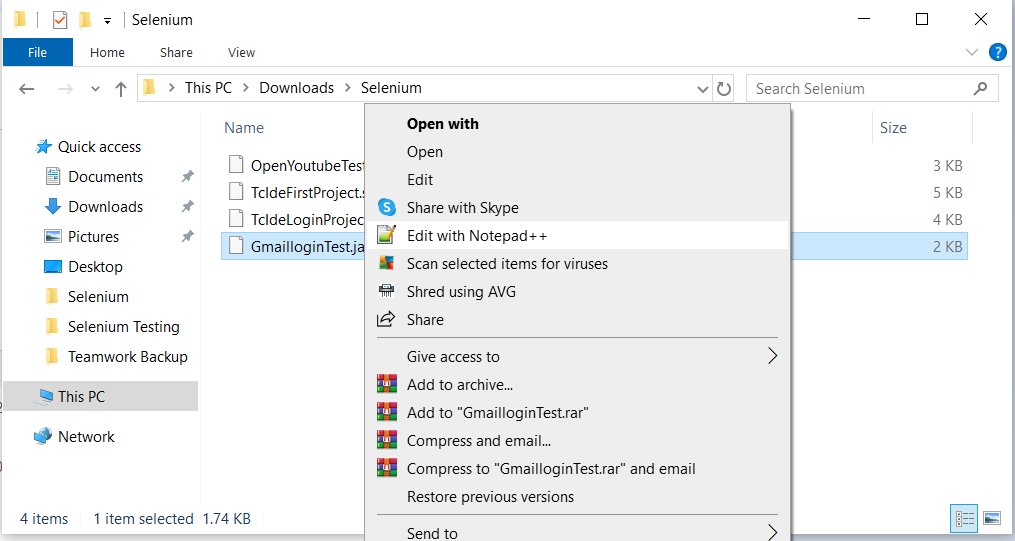
After saving the exported file to the local system, open the file with "notepad" or "Notepad++" option to verify the code.
The saved test script looks like below in java language.
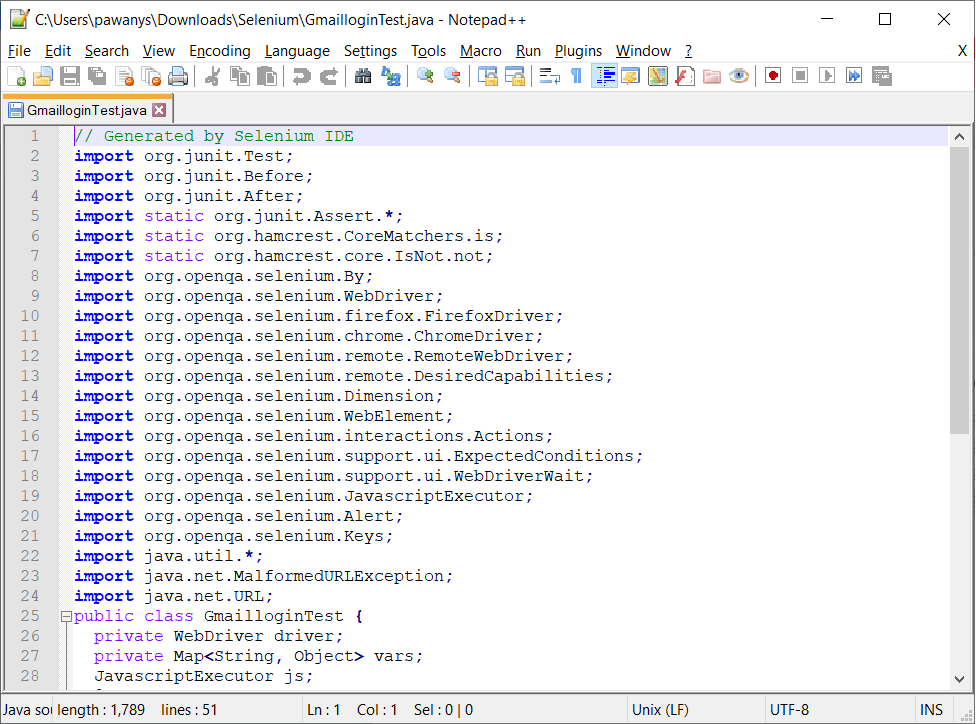
// Generated by Selenium IDE
import org.junit.Test;
import org.junit.Before;
import org.junit.After;
import static org.junit.Assert.*;
import static org.hamcrest.CoreMatchers.is;
import static org.hamcrest.core.IsNot.not;
import org.openqa.selenium.By;
import org.openqa.selenium.WebDriver;
import org.openqa.selenium.firefox.FirefoxDriver;
import org.openqa.selenium.chrome.ChromeDriver;
import org.openqa.selenium.remote.RemoteWebDriver;
import org.openqa.selenium.remote.DesiredCapabilities;
import org.openqa.selenium.Dimension;
import org.openqa.selenium.WebElement;
import org.openqa.selenium.interactions.Actions;
import org.openqa.selenium.support.ui.ExpectedConditions;
import org.openqa.selenium.support.ui.WebDriverWait;
import org.openqa.selenium.JavascriptExecutor;
import org.openqa.selenium.Alert;
import org.openqa.selenium.Keys;
import java.util.*;
import java.net.MalformedURLException;
import java.net.URL;
public class GmailloginTest {
    private WebDriver driver;
    private Map<String, Object> vars;
    JavascriptExecutor js;

    @Before
    public void setUp() {
        driver = new ChromeDriver();
        js = (JavascriptExecutor) driver;
        vars = new HashMap();
    }

    @After
    public void tearDown() {
        driver.quit();
    }

    @Test
    public void gmaillogin() {
        driver.get("https://www.google.com/");
        driver.manage().window().setSize(new Dimension(785, 808));
        driver.findElement(By.linkText("Gmail")).click();
        driver.findElement(By.id("identifierId")).click();
        driver.findElement(
                By.id("identifierId")).sendKeys("tcideproject2020");

        driver.findElement(By.cssSelector(".RveJvd")).click();
        driver.findElement(By.name("password")).sendKeys("tcide@2020");
        driver.findElement(
                By.cssSelector("#passwordNext .RveJvd")).click();
    }
}