
Brackets Editor Download & Installation
Below process provides the Adobe Brackets installation steps for Windows, Mac and Linux operating systems.
Brackets installation process for Windows -
Adobe Brackets supports Windows 7 32/64 bit with Service Pack 1, Windows 8 32/64 bit, Windows 10(with administrator access).
Step 1 – Open any browser and search for Adobe Brackets.
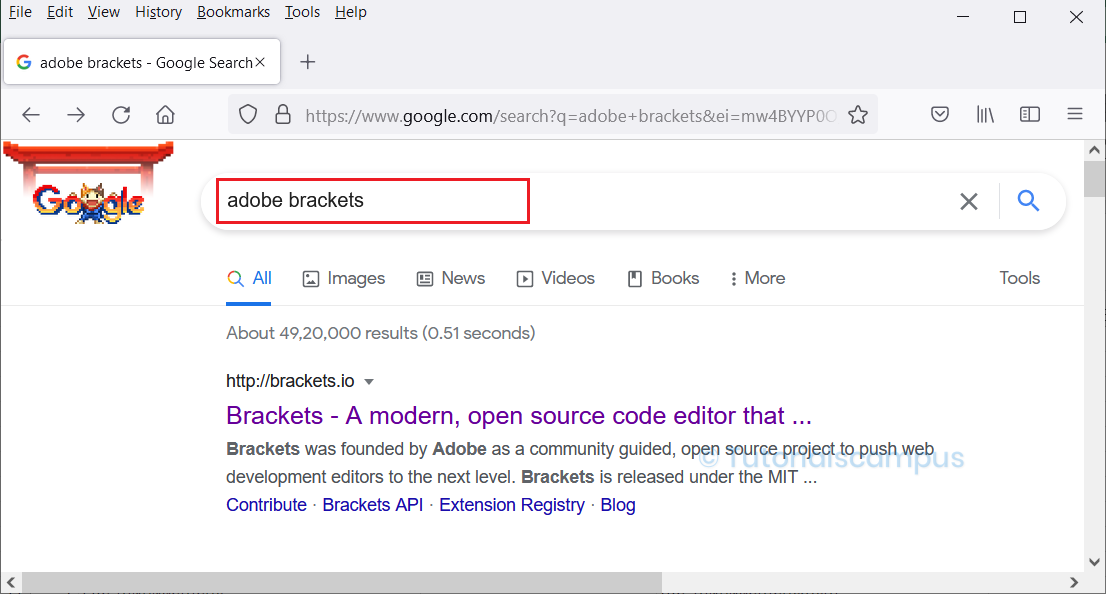
Step 2 – The search gives several suggestions for the brackets editor. To download the brackets, go to the official website of adobe brackets by selecting the brackets.io link. The brackets.io page have the GitHub page link and click on it to navigate to the Github page.

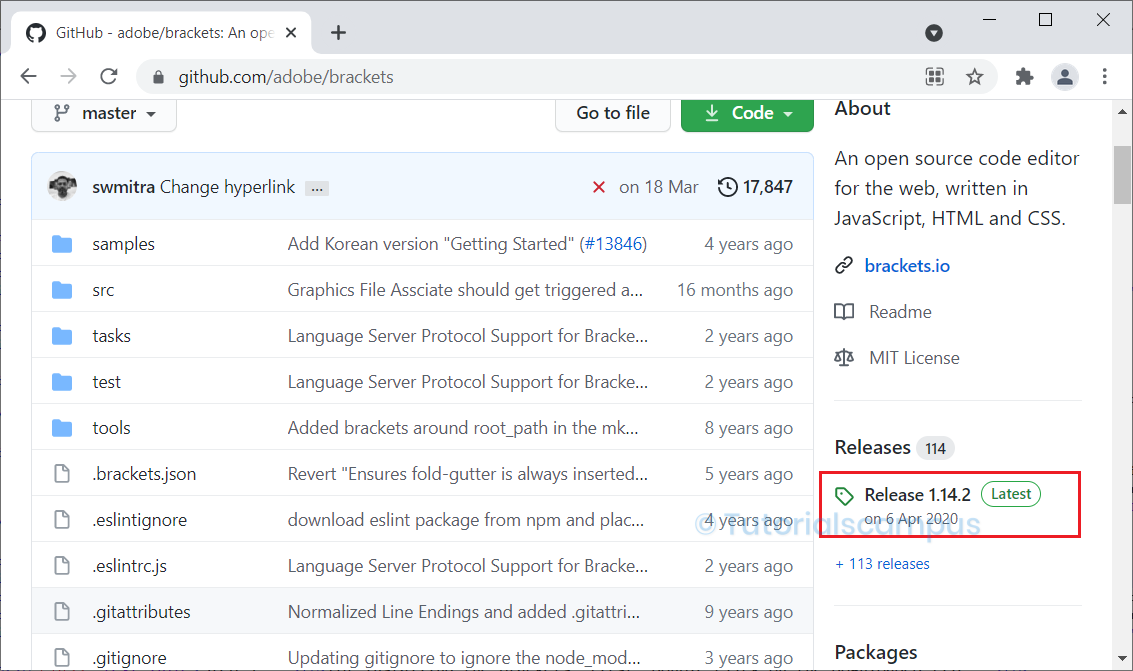
Step 3 – Then click on "Release 1.14.2" to download the latest version on GitHub page.
Step 4 – Then click on the corresponding option to download the desired type of installer. In this case, we are downloading "Brackets.Release.1.14.2.msi".
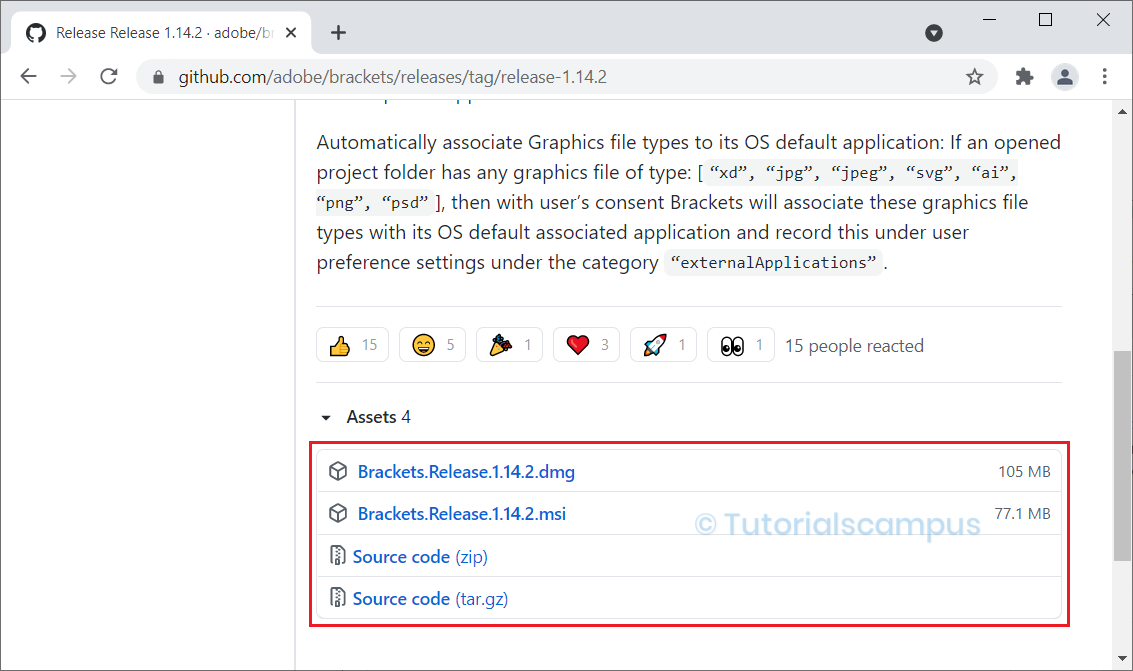
1.14.2 at the time of writing this tutorial.
Step 5 – Once the downloading process completed, the downloaded file present in the (default) downloads folder of the Windows system.
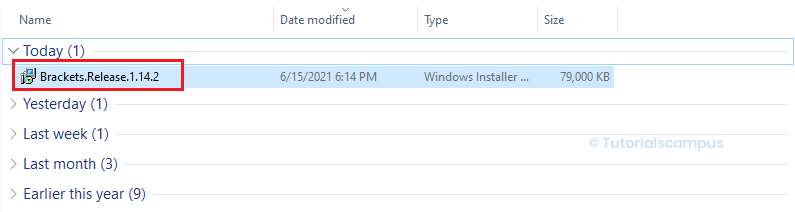
Step 6 – For installing the brackets, first, double-click on the downloaded file.
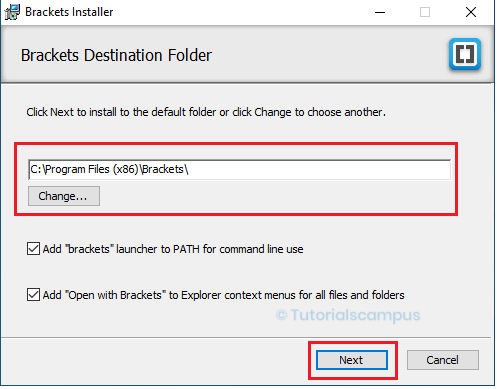
Step 7 – After double click on the downloaded file, the Brackets installer window will open, showing the default path for the brackets. If there is a need to change the path, then click on change and then change the path (changing the path is optional). Then click on the Next button.
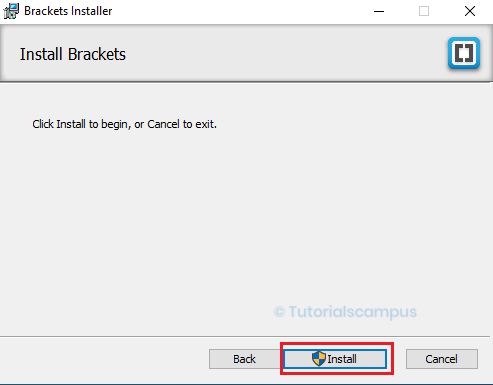
Once the path verified, then click on the Install button.
Step 8 – After clicking on the install button, it will take some time to install the brackets.
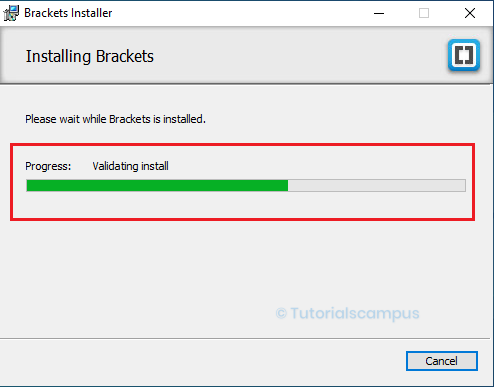
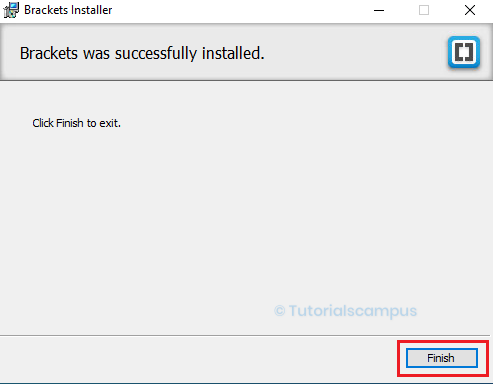
Once the installation completed, then click on the Finish button. The adobe brackets editor is now installed.
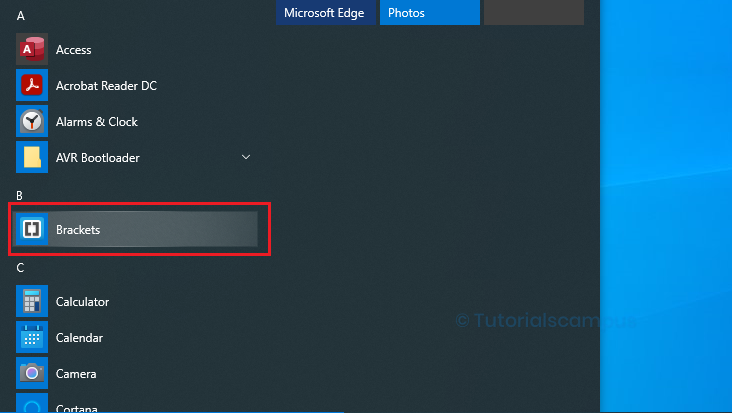
Step 9 – Click on the start menu and then search for the brackets. Then click on the Brackets.
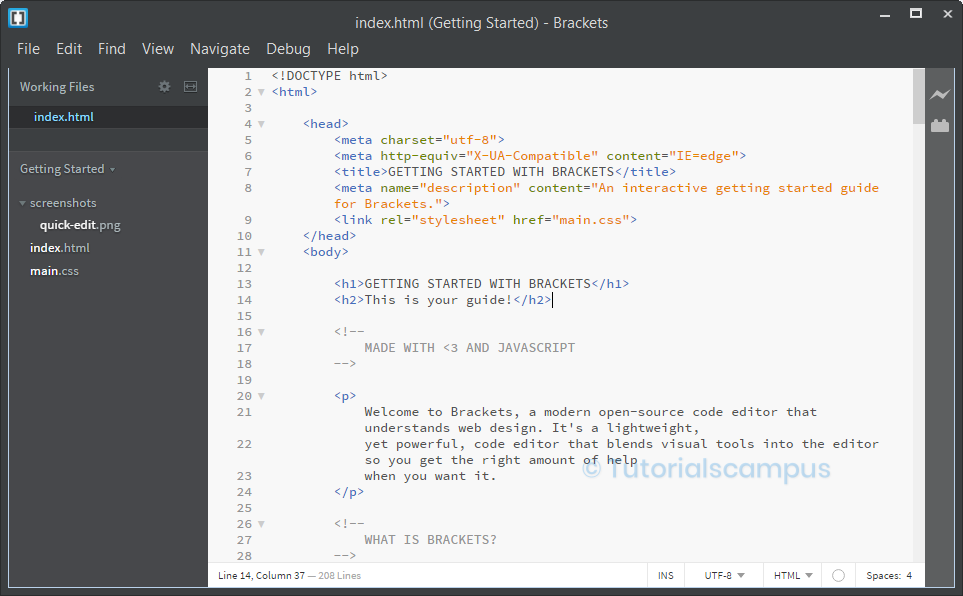
Step 10 – When opening the brackets editor for the first time, it opens with a default index.html page like below.
Brackets installation process for Mac -
Brackets 1.14.2 works on the Mac platforms OSX 10.11, 10.12, 10.13, 10.14.
The installation process is almost same as no customizations required during the installation. Follow the above steps to install the latest version 1.14.2 on the Mac as well.
1.14.2 is targeted for Mac and Windows users only.
Brackets installation process for Linux -
The Adobe Brackets work on the different Linux distributions like Linux Ubuntu, Linux Debian, Linux Mint etc,.
Adobe Brackets 1.14.2 is designed for Windows and Mac.
However, till Brackets 1.14.2 works on Linux Ubuntu 16.04, 18.04, 18.10 (x32 and x64) and
Linux Debian 8, 9. Download the Adobe Brackets for the Linux
here .
Here, we will discuss about two types of installations -
- Install Brackets using Snap.
- Install Brackets using DEB Package or source code.
Install Brackets using Snap -
Snaps are the application packaged with all their dependencies to run on linux distributions from single build. Snaps are the best way to install the Brackets in the Linux distributions. Snaps can update easily and roll back harmlessly.
Snap is already installed and ready to go on Ubuntu 16.04 LTS (Xenial Xerus) or later, including Ubuntu 18.04 LTS (Bionic Beaver) and Ubuntu 20.04 LTS (Focal Fossa).
From Ubuntu 14.04 LTS to 16.04 LTS, Snap didn't installed.
It needs to be installed from Ubuntu Software Centre by searching snapd.
Alternatively, it can be installed from the command line using the below command -
sudo apt-get install snap
Either restart the system or logout and login again to get the snap paths updated correctly.
Once the snap installed, install the Adobe brackets by searching it from Ubuntu Software Centre.
Alternatively, Adobe Brackets can be installed from command line using below command in the terminal -
sudo snap install brackets
To remove the brackets, enter the below command in the terminal -
sudo snap remove brackets
Install Brackets using DEB Package or source code -
The another possibility is to install the Brackets using DEB package or source code on Linux system. Download the Adobe Brackets 1.14.2 DEB package from here .
Double-click on the DEB package to install and it will open Ubuntu Software Center by default.
Brackets update -
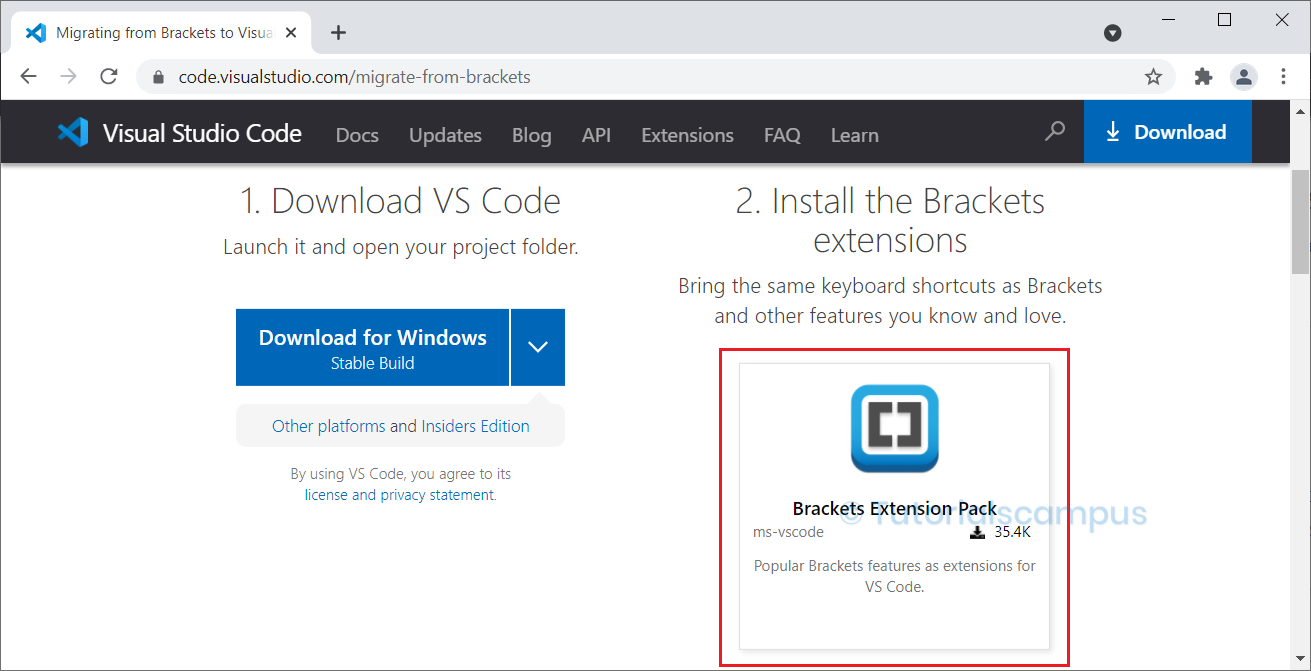
There will be no future updates to Adobe Brackets as Adobe stops support from their side. So, use GitHub to download Adobe Brackets 1.14.2. if you are familiar with Visual Studio, use Adobe Brackets Visual Studio Extension.
Download Adobe Brackets Open-source based on the version (upto 1.14.2) here .
Download Microsoft Visual Studio Adobe Brackets Extension here .