Brackets Editor PHP
The Brackets code editor is mainly helpful for front-end development.
From the Brackets version 1.14, the Brackets code supports the PHP by using the PHP Language Server. The PHP feature works only if the Brackets have the valid PHP7 executable path configuration or the valid PHP7 runtime in the system path is set in the brackets.json.
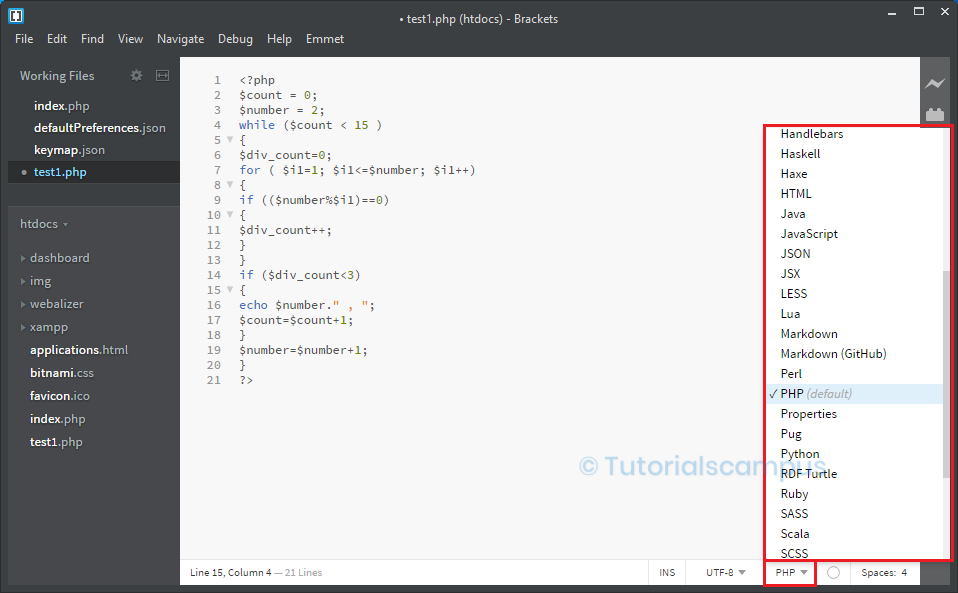
The file format in the brackets editor shows the PHP format automatically while working with the PHP files. If the file format shows any other format, just in case, then change to the PHP format.
PHP custom settings in Brackets.json of the Brackets –
The PHP can configure by using the custom settings in the Brackets.json of Brackets code editor.
For those custom settings, go to Debug menu and click on the Open Preferences File.
Debug -> Open Preferences File.
In the brackets.json file, type the code after the last line.
"enablePhpTooling": true,//true for enable the PHP features and false for //disable the PHP features."executablePath": "php",// this is the path format, for MAC and Linux, // the path is “/users/someuser/bin/php. // For windows, the path is c:\\path\\to\\php.exe."memoryLimit": "5904M",// indicates the memory limit for the PHP language // server process."validateOnType": "false",// the ‘on type’ or ‘on save’ are the configuration // to have the diagnostics."livedev.multibrowser": false
Prerequisite to run PHP on Brackets -
The client-side languages like HTML, CSS, and JavaScript can easily run in the browser.
However, PHP is the open-source Server-side scripting language. So, to run the PHP from Adobe Brackets, there is a requirement to install the local webserver. The local web server, such as Apache that supports the PHP and the MYSQL, runs the PHP on the computer.
Some free software packages consist of the inbuilt Apache. The free software packages are XAMPP, WAMP, MAMP, etc.
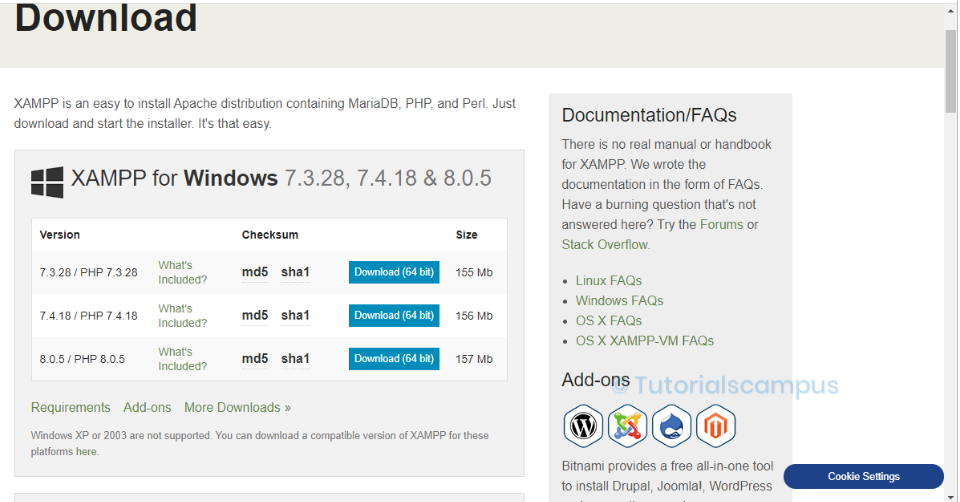
The most popular Apache distribution software package is XAMPP that supports all the PHP, MYSQL, MariaDB, and Perl.
Install XAMPP and setup PHP –
The installation and the setup of the PHP environment are explained below.
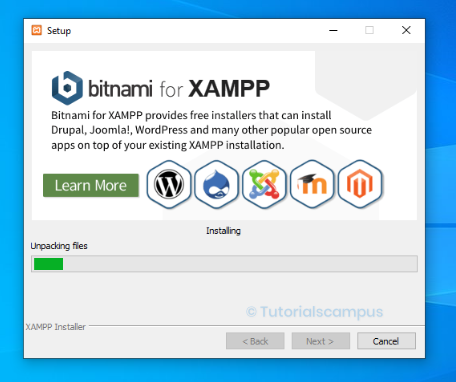
- From the official website, install the XAMPP software.
By default, the XAMPP software installs on the C drive.
- After installing the XAMPP software, go to the Control panel of the XAMPP and click on the start button in the Apache server. If there is a need to start the MYSQL, click on the start button in the Apache server.
- Inside the XAMPP installation, the default is folder is located with the name htdocs.
- In the htdocs folder, create the PHP project, and save the project with any name (For example - phpproj).
- Go to the brackets code editor and navigate to the required folder present in the htdocs.
The navigation process is to click on the file, click on the open folder,
select the path for the folder, or use the short cut key is
Ctrl + Alt + O.
File -> Open Folder
- Next, set the Base URL. For the Base URL setting, go to the File menu and then click on the Project Settings.
- Next, create the PHP file inside the folder and write the required PHP code in the PHP file.
- Every file in the PHP folder should save with the extension of .php. The files saving with the .php extension is essential.
- Once the file is saved, then click on the Live Preview to view the output.
How to preview the changes –
"Live Preview" can be helpful to see the results. However, it is not mandatory when the local servers XAMPP, WAMP, and MAMP are installed on the system. And also, it is not the best solution for PHP.
After the installation of the Apache server, the project folder htdocs is created. Start the Apache server and use the localhost URL in the browser to see the output. Refresh the browser whenever the new changes are saved.
The URL is like http://localhost/index.php.
Important features of brackets for PHP –
The essential features of Brackets for PHP are -
- Code hint - Display the code hints to the user.
- Parameter hint - Displays the parameter hints to the user during the function call.
- Jump to the definition - Jump to the required class or selection location.
The shortcut key for the jump to definition is
Ctrl + J. - Linting - Diagnose the code when saving or typing. The linting errors show at the bottom line in Brackets.
- Find references - Finds the list of files where code or text is coded.
To find the references, click on the particular code or text and click 'find all references'.
The shortcut key for the find reference is
Shift + F12. - Find document symbols - Finds the symbols in the current document.
The shortcut key for finding document symbols is
Ctrl + T. - Find project symbols - Find the symbols in the project.
The shortcut key for finding project symbols is
Ctrl + Shift + T.
Popular PHP Brackets Extensions –
The popular extensions in the PHP Brackets are listed below.
- QuickDocsPHP
- Indentator
- PHP SmartHints
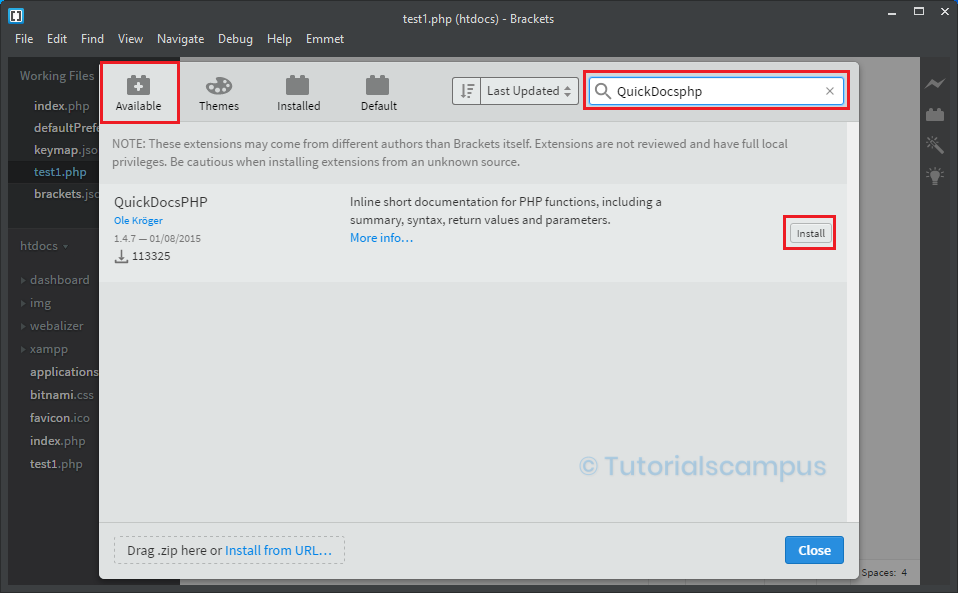
QuickDocsPHP –
The QuickDocsPHP extension is a helpful extension that is useful for documentation Quickly. This extension provides comprehensive documentation of the word.
To install QickDocsPHP, go to Extension Manager, search for the QuickDocsPHP and click on the install.

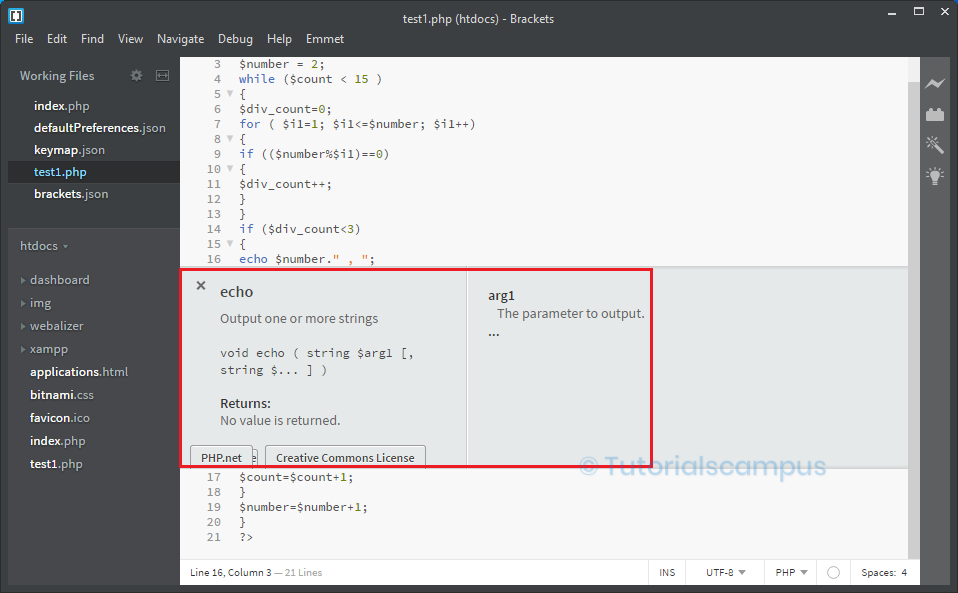
After installing the extension, right-click on the word and click on the QuickDocs or use the Ctrl + K shortcut key.

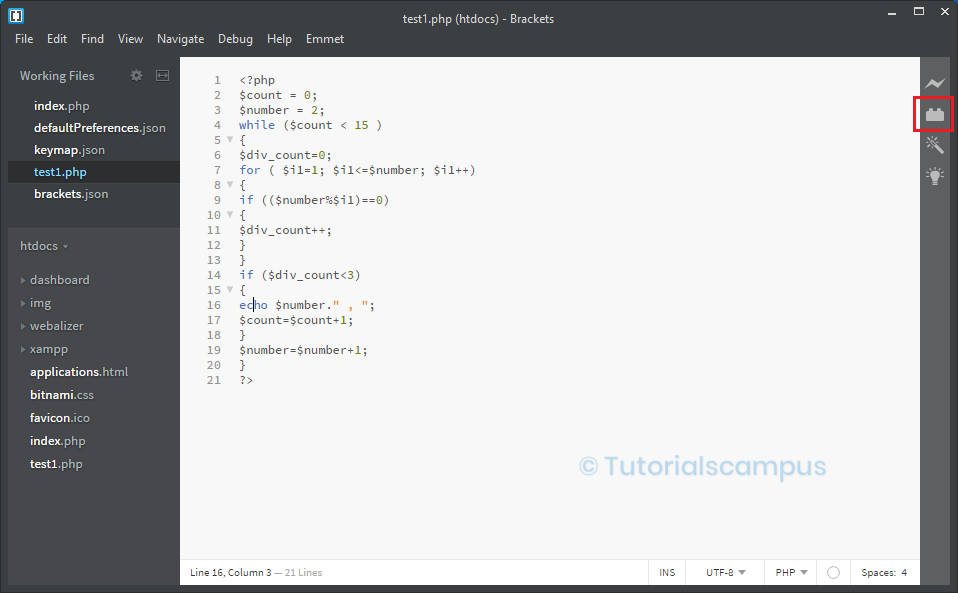
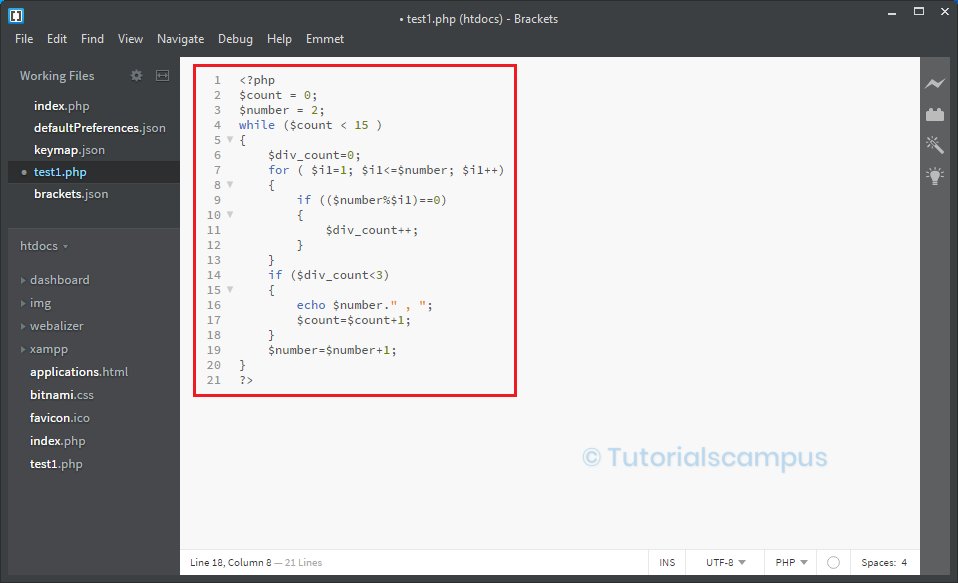
Indentator –
The Indentator extension is used to re-indent the code as per the current settings. Suppose the code looks messy in the currently opened file due to no indentation. When the indentation is applied, the code is beautified.
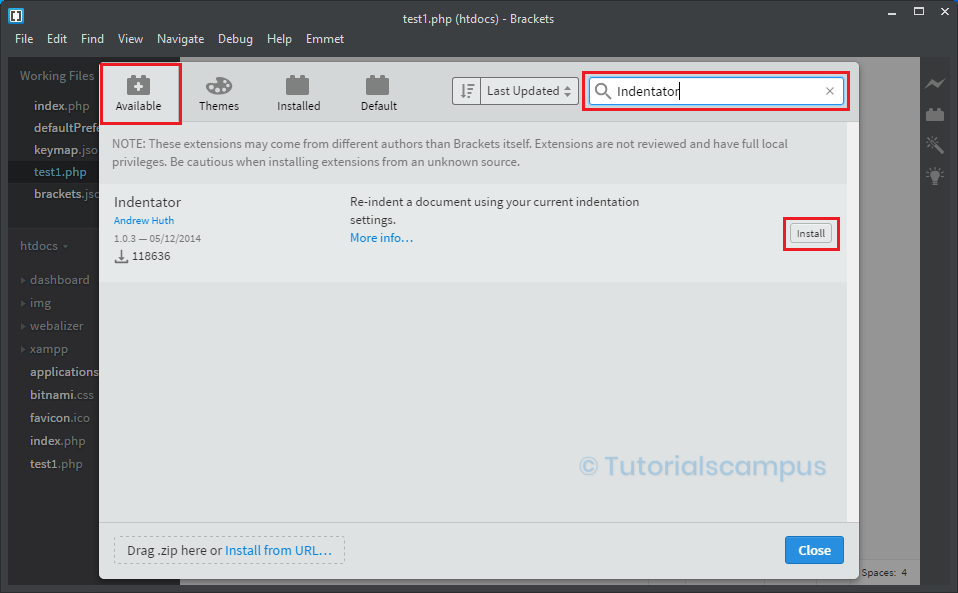
To install the Indentator extension, go to the Extension Manager, search for the Indentator and click on the install.
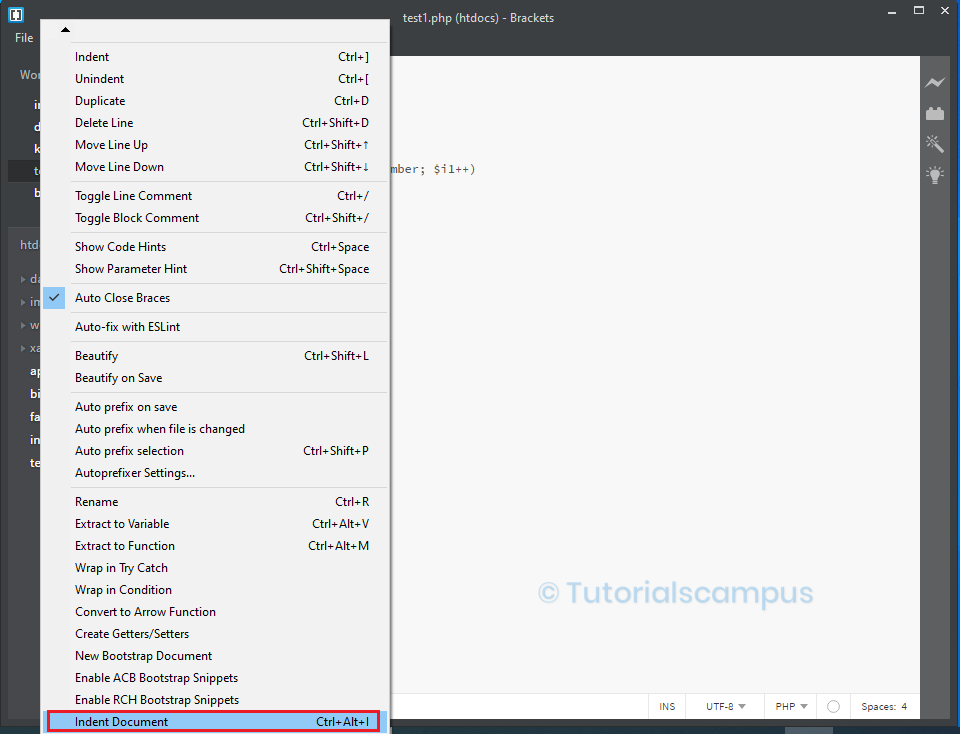
After installing the extension, go to the Edit menu, click on the Indent Document,
or use the Ctrl + Alt + I shortcut key to beautify the code.
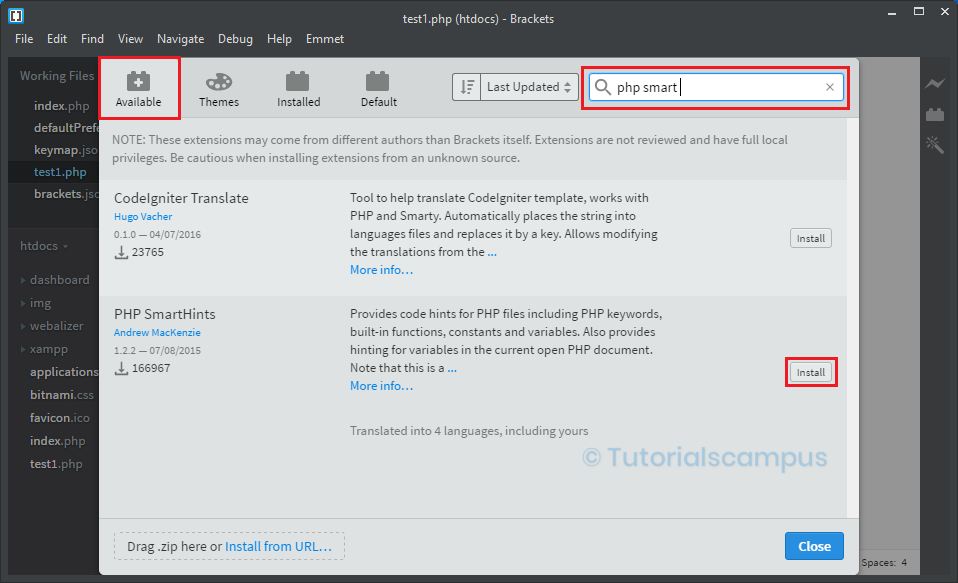
PHP Smart Hints –
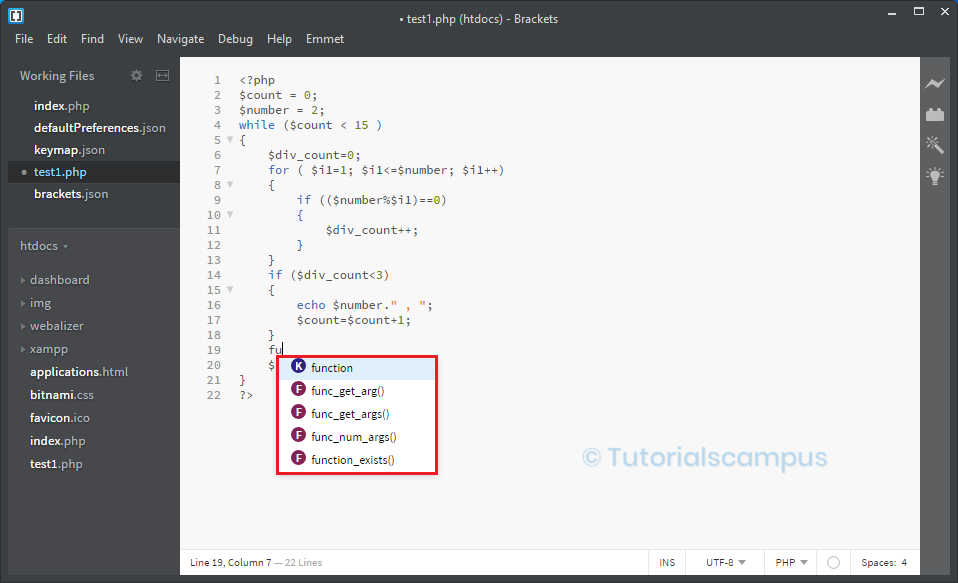
The PHP Smart Hints extension is used to provide the code hinting for PHP code. The PHP Smart Hints has the extremely useful feature auto-complete. The code hints can consist of the function names, class names, variable names, etc.
To install Smart Hints, go to Extension Manager, search for the PHP Smart Hints, and click on the install.

After installing the extension, type two or three letters of the required class name, variable name, or function name. It shows all the suggestions related to those letters, as shown below.